Running Eclipse Che on Kubernetes using Docker Desktop for mac
Docker Desktop on macOS (and on windows) is embedding Kubernetes since several releases.
Docker for Mac with Kubernetes — Docker Blog
_You heard about it at DockerCon Europe and now it is here: we
are proud to announce that Docker for Mac with
beta…_blog.docker.com
Kubernetes being a standard of deploying cloud applications, let’s try to use this embedded Kubernetes directly provided by Docker Desktop instead of using another Kubernetes installation like by installing minikube.
First, check that a recent version of Docker Desktop is installed.
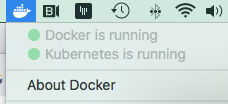
Click on the whale in status bar and click on
About Docker
menu.
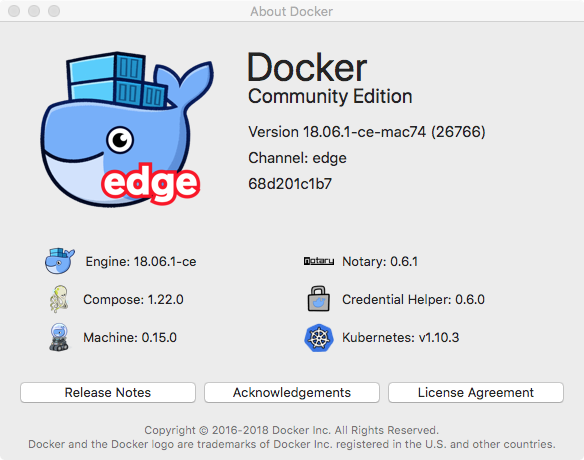
Running the latest stable edition should be fine. (18.06)
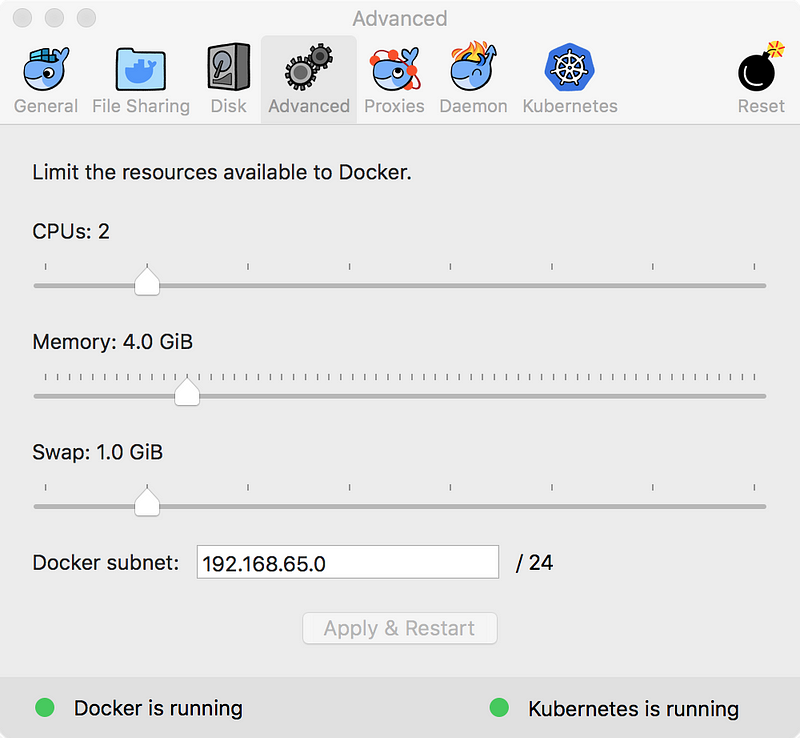
Eclipse Che will start several containers, let’s ensure that docker setup has enough memory to handle that. Here I used 4GiB.
Then, check that kubernetes is enabled on your Docker Desktop instance.
In preferences menu, check
Enable Kubernetes
is checked and that default orchestrator is Kubernetes.

After applying changes, two green lights should be displayed:
- Docker is running
- Kubernetes is running
⚠️ it may take some time to have Kubernetes running.
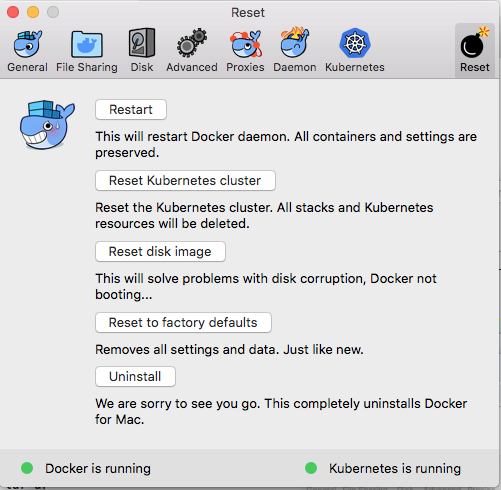
If you think your local setup is broken you may reset Kubernetes
by clicking on
Reset Kubernetes clusterbutton in Reset menu.
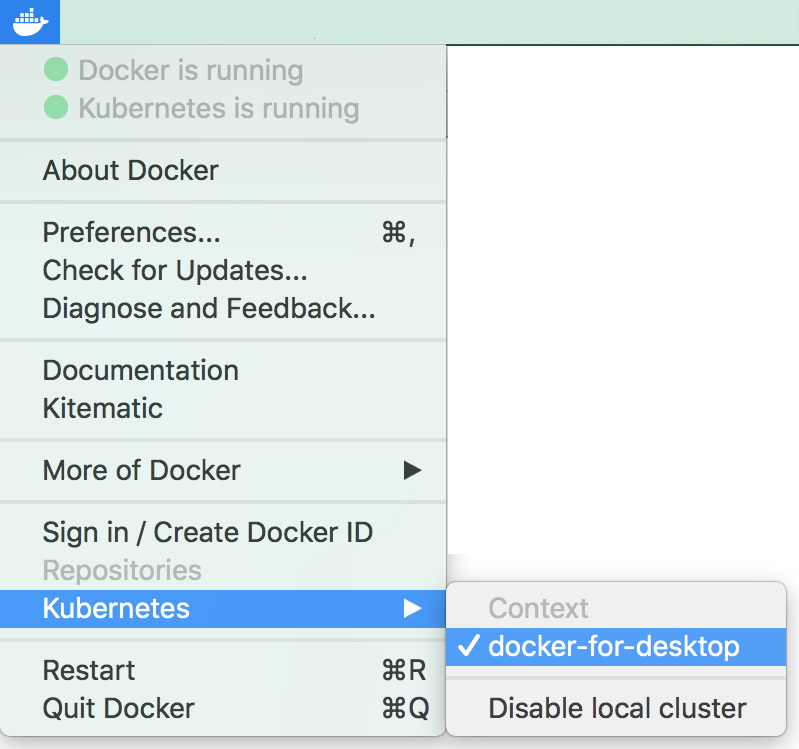
Ok, now Kubernetes is running. Green lights are on.
Please verify that the context is the right one (docker-for-desktop
). If you already played with some other kubernetes tools, you may
have a very big list there.
Let’s check by using some kubernetes commands:
kubectl
$ kubectl get services

NAME         TYPE        CLUSTER-IP   EXTERNAL-IP   PORT(S)   AGE
kubernetes   ClusterIP   10.96.0.1    <none>        443/TCP   4h
Update January, 2020:
You can install Eclipse Che by using
chectl
tool
https://github.com/che-incubator/chectl#installation
that will do all the steps for you
$ chectl server:start --platform=docker-desktop --installer=helm
Previous manual install:
Before deploying Eclipse Che we need an Ingress controller. We’ll use nginx
kubernetes/ingress-nginx
_NGINX Ingress Controller for Kubernetes. Contribute to
kubernetes/ingress-nginx development by creating an account
on…_github.com
and use the following commands to deploy it.
$ kubectl apply -f https://raw.githubusercontent.com/kubernetes/ingress-nginx/controller-v0.34.1/deploy/static/provider/cloud/deploy.yaml
The Helm product will be used to deploy Eclipse Che. Let’s install it.
helm/helm
_The Kubernetes Package Manager. Contribute to helm/helm
development by creating an account on GitHub._github.com
On macos it can be installed with homebrew
(brew install kubernetes-helm)or with direct link
https://storage.googleapis.com/kubernetes-helm/helm-v2.11.0-darwin-amd64.tar.gz
Then you can check helm is there by invoking
helm
command
$ helm version

Client: &version.Version{SemVer:"v2.11.0", GitCommit:"2e55dbe1fdb5fdb96b75ff144a339489417b146b", GitTreeState:"clean"}

Server: &version.Version{SemVer:"v2.11.0", GitCommit:"2e55dbe1fdb5fdb96b75ff144a339489417b146b", GitTreeState:"clean"}
Now, let’s clone Eclipse Che code in order to get deployment files. (We will grab 6.13.0 release source code)
$ git clone -b '6.13.0' --single-branch --depth 1 https://github.com/eclipse/che
Then we go in
che/deploy/kubernetes/helm/che
folder.
$ cd `che/deploy/kubernetes/helm/che`
Then we need a tiller (https://docs.helm.sh/install/#installing-tiller) service which is the server side component of helm CLI that can be installed by following commands:
$ kubectl create serviceaccount tiller --namespace kube-system
$ kubectl apply -f ./tiller-rbac.yaml
$ helm init --service-account tiller
OK, now we’re able to deploy Eclipse Che on top of Kubernetes/Helm. Eclipse Che workspaces need to discuss with Eclipse Che master instance.
We might be able to use
localhost
IP address for accessing Eclipse Che master but then
localhost
will fail inside the new container as it’s not a remote address.
Instead, we will pickup the cluster IP address which will be
accessible locally and remotely from a container. In order to grab
that IP we launch the command. It’s the value under
CLUSTER-IP
field.
$ kubectl get services --namespace ingress-nginx
NAME          TYPE         CLUSTER-IP    EXTERNAL-IP   PORT(S)
ingress-nginx LoadBalancer 10.110.237.20 localhost     80:31763/TCP
Let’s use jsonpath to grab that value automatically
$ export CHE_DOMAIN=$(kubectl get services --namespace ingress-nginx -o jsonpath='{.items\[\*\].spec.clusterIP}')
Then add this IP address as an alias of localhost (root password will be asked)
$ sudo ifconfig lo0 alias ${CHE_DOMAIN}
ℹ️ Alias is temporary. After a reboot it will be gone. It can be
removed using the following command. (you may replace CHE_DOMAIN
by a specific ip address if you don’t have anymore value of
CHE_DOMAIN).
ifconfig lo0
command displays all the aliases.
$ sudo sudo ifconfig lo0 -alias ${CHE_DOMAIN}
On Windows (thanks Gerben Oolbekkink) the IP alias can be added with:
$ netsh interface ip add address Loopback <Cluster-IP> 255.255.255.255_
Check that all pods are in
runningstate (customize the columns to make it more readable on medium)
$ kubectl get pods --all-namespaces -o custom-columns=NAMESPACE:metadata.namespace,NAME:metadata.name,STATUS:status.phase

NAMESPACE       NAME                                         STATUS
docker          compose-api-85fcf6ff58-5lbfr                 Running
docker          compose-f6b797fc9-l9bmk                      Running
ingress-nginx   nginx-ingress-controller-f88c75bc6-fnqb2     Running
kube-system     etcd-docker-for-desktop                      Running
kube-system     kube-apiserver-docker-for-desktop            Running
kube-system     kube-controller-manager-docker-for-desktop   Running
kube-system     kube-dns-86f4d74b45-7smp2                    Running
kube-system     kube-proxy-wnz69                             Running
kube-system     kube-scheduler-docker-for-desktop            Running
kube-system     tiller-deploy-778f674bf5-thcvm               Running
On Windows the following command (update) needs to be called before (thanks Gerben Oolbekkink)
$ helm update
Last step, now we can deploy Eclipse Che with the command
$ helm upgrade --install che --namespace che --set cheImage=eclipse/che-server:6.13.0 --set global.cheWorkspacesNamespace="che" --set global.ingressDomain=${CHE\_DOMAIN}.nip.io ./
Eclipse Che will be accessible at
[http://che-che.${CHE_DOMAIN}.nip.io.](http://che-che.$%7BCHE_DOMAIN%7D.nip.io.)
At the end of this post, commands to update or delete Eclipse Che can be found.
Images of Eclipse Che will be pulled. Progress events can be tracked using the following command
$ kubectl get events --namespace che -o custom-columns=TIMESTAMP:lastTimestamp,TYPE:type,MESSAGE:message -w
and when you’ll see the following events
Normal    Successfully pulled image "eclipse/che-server:6.13.0"
Normal    Created container
Normal    Started container
You can now check that Eclipse Che server is running
$ kubectl get pod --namespace che

NAME                  READY     STATUS    RESTARTS
che-dc7db84fb-m9zwg   1/1       Running   0
You can see logs by doing
$ kubectl logs -f --namespace che pod/$(kubectl get pod --namespace che -o jsonpath='{.items\[\*\].metadata.name}')
If server is ready log file should contain something like:
\[INFO \] \[o.a.c.http11.Http11NioProtocol 632\]  - Starting ProtocolHandler \["http-nio-8080"\]
\[INFO \] \[o.a.catalina.startup.Catalina 683\]   - Server startup in 21505 ms
When the log file is displaying “server startup in xxx ms” then, let’s use this command to open Eclipse Che:
$ open [http://che-che.${CHE\_DOMAIN}.nip.io](http://che-che.$%7BCHE_DOMAIN%7D.nip.io)
It will open Eclipse Che in your favorite browser automatically with the right URL.
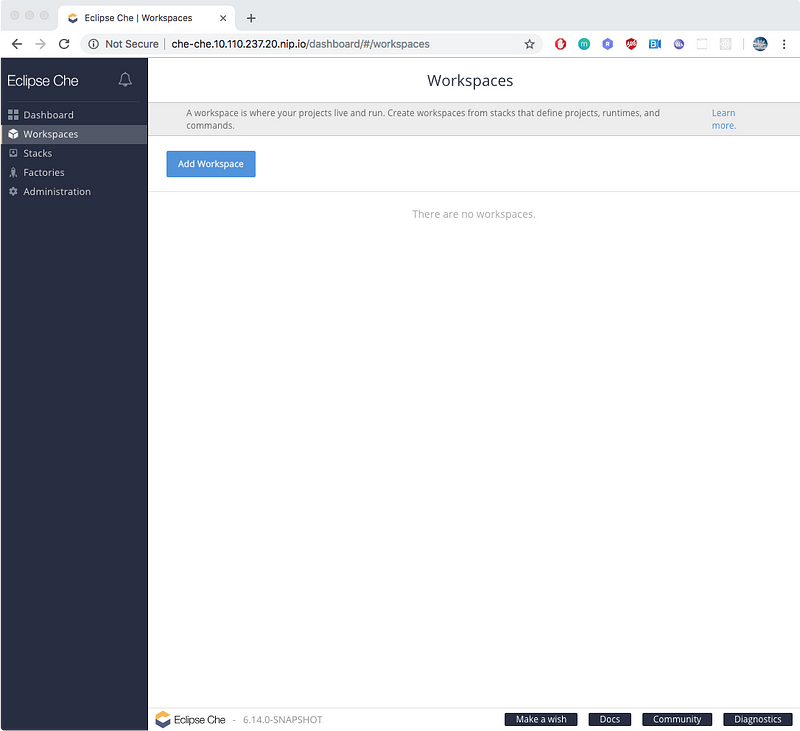
Then create a workspace by clicking on Add Workspace button. Select Java stack, add console java project and click on create button.
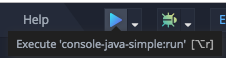
And once you’re redirected into the IDE, click on the play button to start the Java command.
Congrats 🚀 🎆 !!! your Eclipse Che instance is now running on top of Kubernetes provided by Docker Desktop for mac.
Command to update Eclipse Che
Let say someone want to update the current Eclipse Che 6.13.0 image to the nightly image of che server. It can de done using the following command
$ helm upgrade che --set cheImage=eclipse/che-server:nightly --reuse-values .
Command to uninstall Eclipse Che
In order to get remove Eclipse Che with helm, helm provides a delete option:
$ helm delete che --purge
👏 to Mario Loriedo and Stevan Le Meur for the review and great feedback.
Get Involved!
Join the community:
- Support: You can ask questions, report bugs, and request features using GitHub issues.
- Public Chat: Join the public eclipse-che Mattermost channel to discuss with community and contributors.
- Weekly Meetings: Join us in our Che community meeting every second monday.
- Mailing list: che-dev@eclipse.org