Import a project from your laptop to an Eclipse Che workspace.
Eclipse Che is a Kubernetes-Native IDE. It might be interesting to work on your project using remote resources instead of consuming your laptop resources. Another interesting way is to use containers that might be used in production as well.
Also let say you’re running out of battery, you may spare CPU and get extra time !
In this article we’ll cover how to set this up, by:
-
Defining an Eclipse Che workspace for a project (create a
devfile). - Starting an Eclipse Che workspace ready to receive the project.
- Pushing / importing the local files into the remote Eclipse Che workspace.
- Coding using Eclipse Che.
-
Synchronizing all code changes with
rsync. - Stopping the Che workspace and even deleting it without impacting the local copy.
Prerequisites
1. On my laptop: check all tools are available
-
Check local installation of
rsyncon the laptop by trying to execute the command$ rsync -
Check installation of
kubectlto executersynccommand. -
Check installation of
ocif Eclipse Che is running on top of OpenShift.
If these tools are not installed, please install them.
2. In Eclipse Che Workspace
rsynctool needs to be part of the workspace.
Note: with OpenShift we could useoc rsync
command. But there is no exclude filter taken into account for
example. So in this blog post I will use only
kubectland
rsynctools
Eclipse Che workspaces may include several running containers.
(Workspace pod). Let’s add a new container that will manage only
rsync
operations.
For the demo, I will create a custom OCI image based on alpine. In
this custom image, I will install
rsync tool.
I’ve published this image under
quay.io/fbenoit/rsync-simple
so no need to build it.
The image includes the following:
FROM alpine:latest
...
RUN apk add --no-cache rsync
...
As you can see this just adds thersync
tool inside the smallest container possible (based on
alpine
linux).
I’ve also added an entry-point to keep the container always-on. I added extra permissions to make it compliant with random user-id for OpenShift.
3. A local project
To make sure that everyone can reproduce the test, it’s important to use the same local project :-)
The project I’m using is a clone of https://github.com/che-samples/react-web-app
I’ve cloned it into
$HOME/react-web-app
folder.
The application is a Nodejs example.
Workflow
1. Define an Eclipse Che workspace for my project (create a devfile)
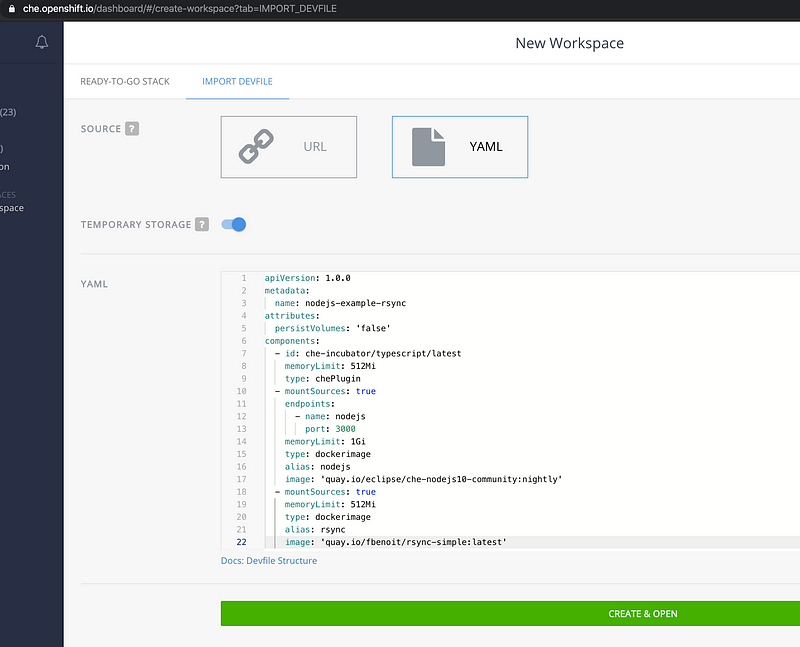
Let’s start with a minimalist devfile. The devfile is responsible of creating the Eclipse Che workspace.
I set
persistVolumes
to false as the storage will be our laptop. I don’t want to use
remote storage to save my project files.
As seen in prerequisites,
rsynctool needs to be part of the workspace. Let’s add a new
rsync
component and let it have access to
/projects
folder using
mountSources: true
The workspace now includes the
rsync
tool.
Let’s add new components to work on the project with Eclipse Che.
The project that I want to import is a Nodejs project.
Now I add :
- Intellisense with a typescript plugin
-
nodejscomponent to have node tools.
2. Start an Eclipse Che workspace ready to receive my project
The workspace definition is ready with the devfile.
There are a few ways we can start the Che workspace:
- Importing this devfile into the Eclipse Che dashboard
-
Using
chectlwith the devfile - Opening this direct link that creates and starts the workspace
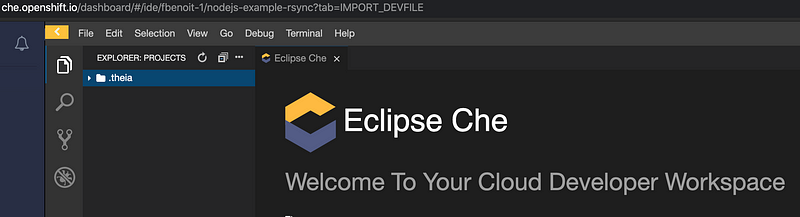
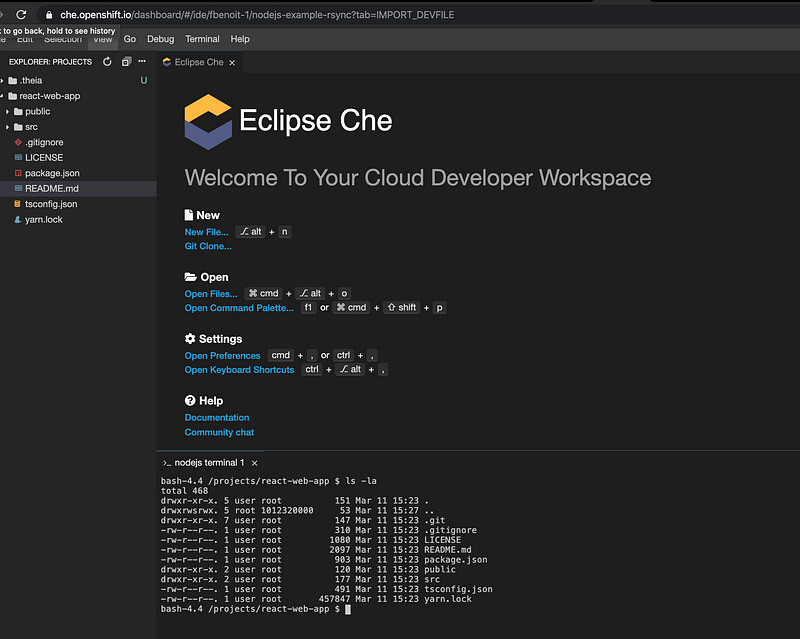
After the startup of the workspace, we can see the IDE. We can see that there are no files in project tree. This is normal because we want to import our local project folder.
3. Push/Import into the remote Eclipse Che workspace the local files
To push files to the remote workspace and use rsync, we will need some information.
-
kubectlready-to-use (authentication performed) - The name of the workspace pod
- A rsync bash script
3.1. kubectl
In my example, I am using the online Eclipse Che instance hosted
on
che.openshift.io.
I will copy the command to be able to log into OpenShift instance.
I can use the OpenShift web console to do that. To get the web console link, open a terminal inside the IDE by using the Workspace panel within the IDE
$ echo ${CHE_OSO_CLUSTER//api/console}
It will display the URL of the console
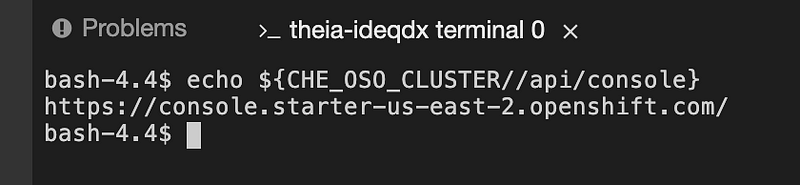
Use command+click on
https://console.starter-us-east-2.openshift.com/
It will open link in default browser.
Note: your cluster might be different so the URL might be
different as well.
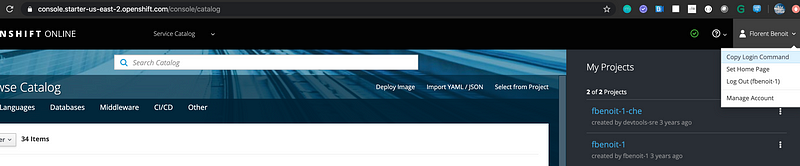
When logged in in the OpenShift console:
- Open the top right corner link
-
Click on
copy Login commandand execute that command on your laptop.
You should be now connected from your laptop to the OpenShift cluster.

3.2. Name of the workspace pod
We will copy files from the remote workspace.
We need the name of the workspace. It is available from a terminal with the following command:
$ echo $HOSTNAME

Another way is to usekubectl
or
octool
to find the workspace pod name ($ kubectl get podsor
$ oc get pods).
Name of the container that includes
rsync is
rsync as it’s the alias name we defined in the devfile.
3.3. The rsync script
To import the project files into Eclipse Che workspace, we will
now use
rsync.
We will need a shell script to perform the copy and this script
will use
kubectl exec
command.
Create a new file
kubectl-rsync.sh
with the following content:
And make it executable:
chmod u+x kubectl-rsync.sh
and now let’s assume you copy it to
${HOME}/bin
folder.
Now, let’s create another script named
workspace-sync.sh
Apply permissions by using
chmod u+x workspace-sync.sh
Copy it for example to
${HOME}/bin
folder. We’re using the
-e
option in rsync parameters to specify another shell.
Now that our scripts have been setup, it’s time to use them.
First, we store the workspace pod into an env variable:
$ export WORKSPACE_POD=workspacelmog4zkmikhxpc87.workspace-74d787cf95-xbd26
Let’s proceed to the first import.
Assuming our local Nodejs app is in
${HOME}/react-web-app, execute the following command:
$ RSYNC_OPTIONS="--progress --stats --exclude 'node\_modules'" RSYNC_FROM="${HOME}/react-web-app" RSYNC_TO="${WORKSPACE_POD}:/projects/" ${HOME}/bin/workspace-sync.sh
Files are being transferred into the remote workspace.
We see progress due to
--progress
option.
In the UI now we see
react-web-app
folder:
4. Code using Eclipse Che
Let’s use yarn command to launch the project inside Eclipse Che.
And now start the webapp using
yarn start
command inside
/projects/react-web-app

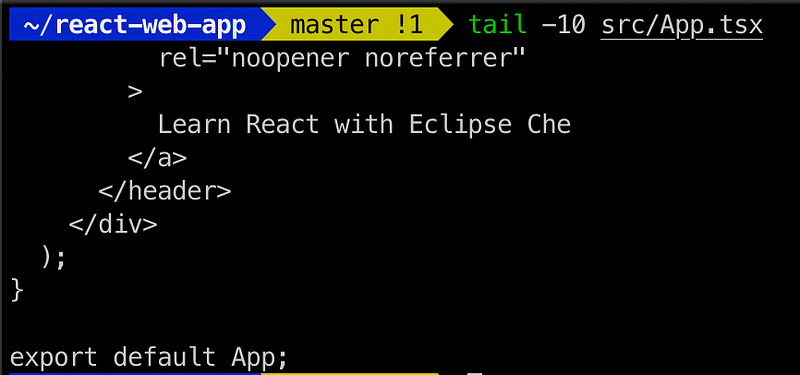
And edit
src/App.tsx
file and see the result.
5. Synchronize back all the changes
All modified files are in my Eclipse Che workspace. But I want to keep my local folder on my laptop in sync with my new remote changes.
We’ll use the same
workspace-sync.sh
script but we’ll reverse the source and destination. Because now
we want to copy remote changes to the laptop and not the previous
way. Also, we’ll set this time
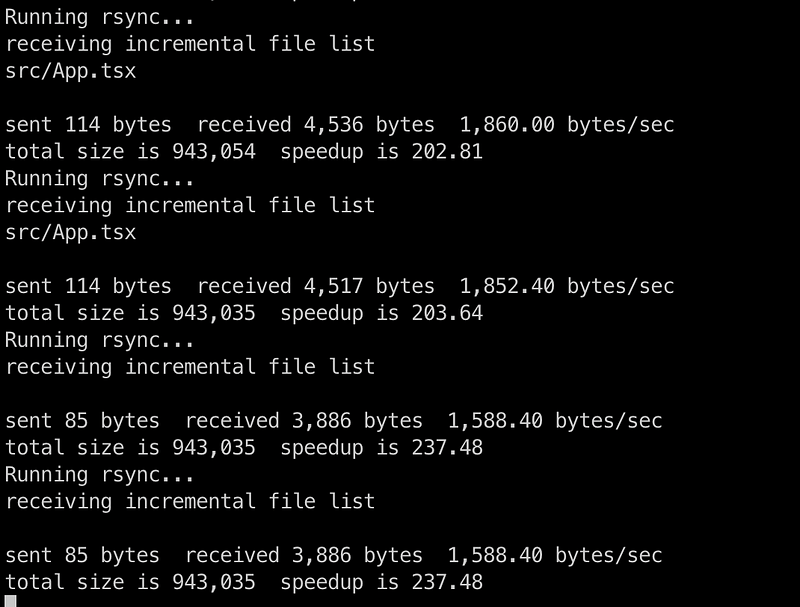
RSYNC_INFINITE=true
to do rsync every 15s (to never miss remote changes).
$ RSYNC_OPTIONS="--exclude node_modules" RSYNC_FROM="${WORKSPACE_POD}:/projects/react-web-app/" RSYNC_TO="${HOME}/react-web-app/" RSYNC_INFINITE="true" ${HOME}/bin/workspace-sync.sh
I dropped
--progress --stats
from
RSYNC_OPTIONS
to not generate too much output.
One issue is that when syncing back the changes, we don’t want to
download the whole node_modules folder. Adding the
--exclude node_modules
parameter takes care of that.
The script now checks all the changes every 15 seconds.
All changes from Eclipse Che workspace are now inside my filesystem.
Let’s check:
6. Finishing
When we’re done working we can double-check that the rsync script has finished to copy all files to my laptop, then stop the Eclipse Che workspace. We can even delete the stopped Che workspace as we have all the up-to-date changes saved on our local drive.
Note: With
persistVolumes=false , restarting the workspace will result in an empty project tree
again until you re-run the laptop-to-remote-Che sync script.