Use mkcert to Trust Local Che Certificates
When deploying Che locally, on minikube for example, its TLS certificate will be self-signed and not trusted by the local browsers.
In this blog post we are going to see how we can generate TLS certificates using mkcert and configure Che to use them. Those certificates will be always locally-trusted.
The problem with untrusted TLS certificates
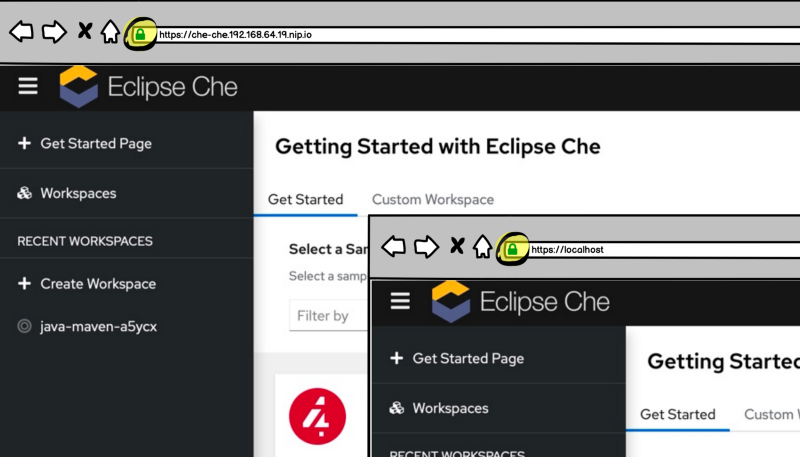
When Che SSL certificate is signed by an unknown CA, the certificate won’t be trusted by the local browser and Che users have to download and locally import the TLS certificate1 (we have even documemented the instructions for different browsers).
Locally importing a CA certificate is a repetitive and error prone task. A new CA certificate needs to be imported at every local Che install. That’s annyoing, especially if like me you deploy Che often.
Someone may argue that with
Let’s Encrypt or
ZeroSSL issueing a valid
certificates is straighforward. But that won’t for
localhost
or
nip.io.
We could automate the import of the certificate at the end of every Che deploy too. But, instead of reinventing the wheel, we are going to use mkcert. That’s a command line tool to manage local TLS certificates:
mkcert is a simple tool for making locally-trusted development certificates. It requires no configuration.
Issue a locally-trusted Che certificate
The following steps will guide you through the generation of a TLS certificate for Che ingresses signed by a CA that is trusted by your system and browsers.
STEP1 - Install mkcert
Instructions to install mkcert are in the GitHub repository README file.
STEP2 - Create a local CA
In order to generate a valid certificate we need a trusted Certificate Authority to sign them.
The following
mkcert
command generates a CA certificate and key:
$ mkcert -install
Using the local CA at “/Users/mariolet/Library/Application Support/mkcert” ✨
The local CA is already installed in the system trust store! 👍
The local CA is already installed in the Firefox trust store! 👍
As a result a CA certificate and private key will created in
mkcert
data folder
~/Library/Application Support/mkcert/:
ls -l ~/Library/Application\ Support/mkcert/
total 16
-r--------  1 mloriedo  staff  2484 Jul 20  2020 rootCA-key.pem
-rw-r--r--  1 mloriedo  staff  1720 Jul 20  2020 rootCA.pem
The CA is trusted by the OS and by my local Firefox.
This is a one time operation as I can use this same CA to sign certificates for different Che deployments, even on different clusters.
STEP3 - Retrieve Che domain name
Assuming that Che has already been deployed (here are the instructions), the following command is
$ CHE_DOMAIN_NAME=$(kubectl get ingress \
         --all-namespaces \
         -l "app.kubernetes.io/name"="che" \
         -l "app.kubernetes.io/component"="che" \
         -o jsonpath='{.items[*].spec.tls[0].hosts[0]}')
$ echo ${CHE_DOMAIN_NAME}
192.168.64.34.nip.io
Note that on
minikube
the domain name contains the IP address of the VM (for example
192.168.64.34.nip.io). This step and the following one should be repeated when the IP
changes (if the cluster gets recreated for example).
STEP4 - Generate a locally-trusted TLS certificate for Che
With the CA created at STEP 2 we can issue locally-trusted TLS
certificates for any domain. And, compared to
openssl,
mkcert
makes the operation easy.
To generates a certificate for
${CHE_DOMAIN_NAME}
retrieved at the previous step:
$ mkcert "*.${CHE_DOMAIN_NAME}"
Created a new certificate valid for the following names 📜
 — “*.192.168.64.34.nip.io”

Reminder: X.509 wildcards only go one level deep, so this won’t match a.b.192.168.64.34.nip.io ℹ️

The certificate is at “./_wildcard.192.168.64.34.nip.io.pem” and the key at “./_wildcard.192.168.64.34.nip.io-key.pem” ✅

It will expire on 29 March 2023 🗓
We have just generated a wildcard TLS certificate and private key for Che that is valid until 2023.
STEP5 - Configure Che to use the new certificate
To configure Che to use the certificate generated above we should
create a
Kubernetes tls secret. We will name it
che-custom-tls:
$ CHE_TLS_CERT_PATH=./_wildcard.192.168.64.34.nip.io.pem    # Replace the value with the cert path from previous step
  CHE_TLS_KEY_PATH=./_wildcard.192.168.64.34.nip.io-key.pem # Replace the value with the key path from previous step
  CHE_SERVER_NAMESPACE=workspaces-server                    # Replace the value with Che server namespace
  CHE_TLS_SECRET=che-custom-tls
$ kubectl create secret tls ${CHE_TLS_SECRET} \
               --namespace ${CHE_SERVER_NAMESPACE} \
               --key ${CHE_TLS_KEY_PATH} \
               --cert ${CHE_TLS_CERT_PATH}
secret/che-custom-tls created
We can now update Che configuration to use this secret:
$ CHE_CLUSTER=eclipse-che   # Replace the value with CheCluster CR name
$ kubectl patch checluster "${CHE_CLUSTER}" --type='json' \
    --namespace "${CHE_SERVER_NAMESPACE}" \
    -p="[{\"op\": \"replace\", \"path\": \"/spec/k8s/tlsSecretName\", \"value\": \"${CHE_TLS_SECRET}\"}]"
checluster.org.eclipse.che/eclipse-che patched
A last command is required to include the local CA certificate, created at step 2, in the CA bundle of Che workspaces trusted certificates. This is required to allow communications between workspaces and the Che server.
The convention used to add a certificate in Che CA bundle is via a
ConfigMap
in Che server namepsace with labels
app.kubernetes.io/part-of=che.eclipse.org
and
app.kubernetes.io/component=ca-bundle:
$ LOCAL_CA_CERT=~/Library/Application\ Support/mkcert/rootCA.pem
$ kubectl create configmap custom-certs \
              --namespace="${CHE_SERVER_NAMESPACE}" \
              --from-file="${LOCAL_CA_CERT}"
configmap/custom-certs created
$ kubectl label configmap custom-certs \
           app.kubernetes.io/part-of=che.eclipse.org \
           app.kubernetes.io/component=ca-bundle \
           --namespace="${CHE_SERVER_NAMESPACE}"
configmap/custom-certs labeled
Verification
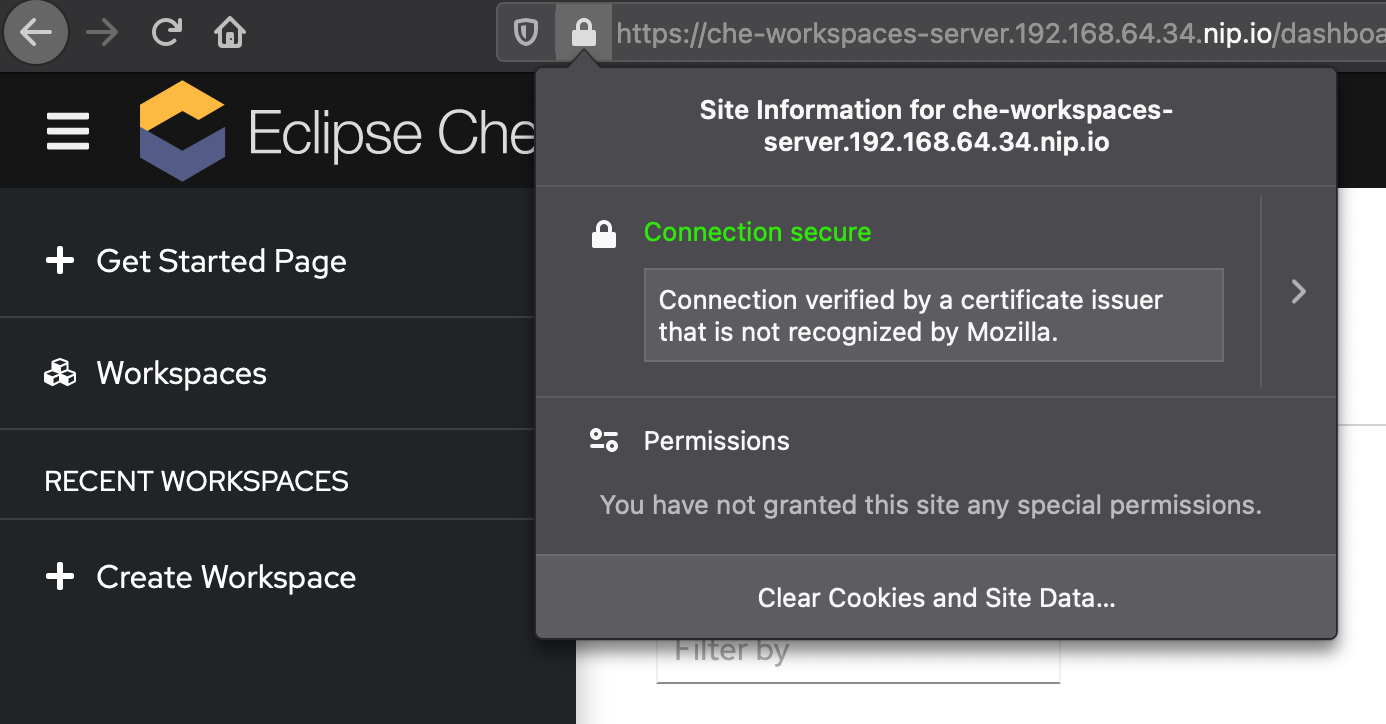
If you have followed the steps described above, when opening the Che dashboard in your local browser, you should see that the certificate is considered valid. Starting a workspace should also work without any issue.
Footnotes
-
Adding the URL among the browser exceptions is not enough. Even in single-host mode (when Che uses one unique domain for every endpoint) a fully trusted TLS certificate is required to use the service worker API required by the IDE running in the browser. ↩