Working locally in the cloud: Develop in local Visual Studio Code with Eclipse Che as your Cloud Development Environment
Introduction
Eclipse Che provides developers with a web version of the Visual Studio Code OSS editor, which includes most features from the desktop version. The transition to cloud development can feel quite unusual for developers, but Eclipse Che has a feature that will help you feel right at home immediately. With Visual Studio Code Command Line Interface (CLI) you can create a tunnel that allows you to connect your local Visual Studio Code, an editor you may already be familiar with, to your workspace.
Connecting Visual Studio Code desktop to a new workspace
You can connect your local Visual Studio Code to a new workspace with a few clicks. First, create a workspace from the Che Dashboard and choose Visual Studio Code (desktop) as your editor.

Wait for the login page to appear and log in with your Microsoft or GitHub account. Click the Copy & Continue to Microsoft or Copy & Continue to GitHub button to copy the authentication code to the clipboard and to open the authenticating pop-up.
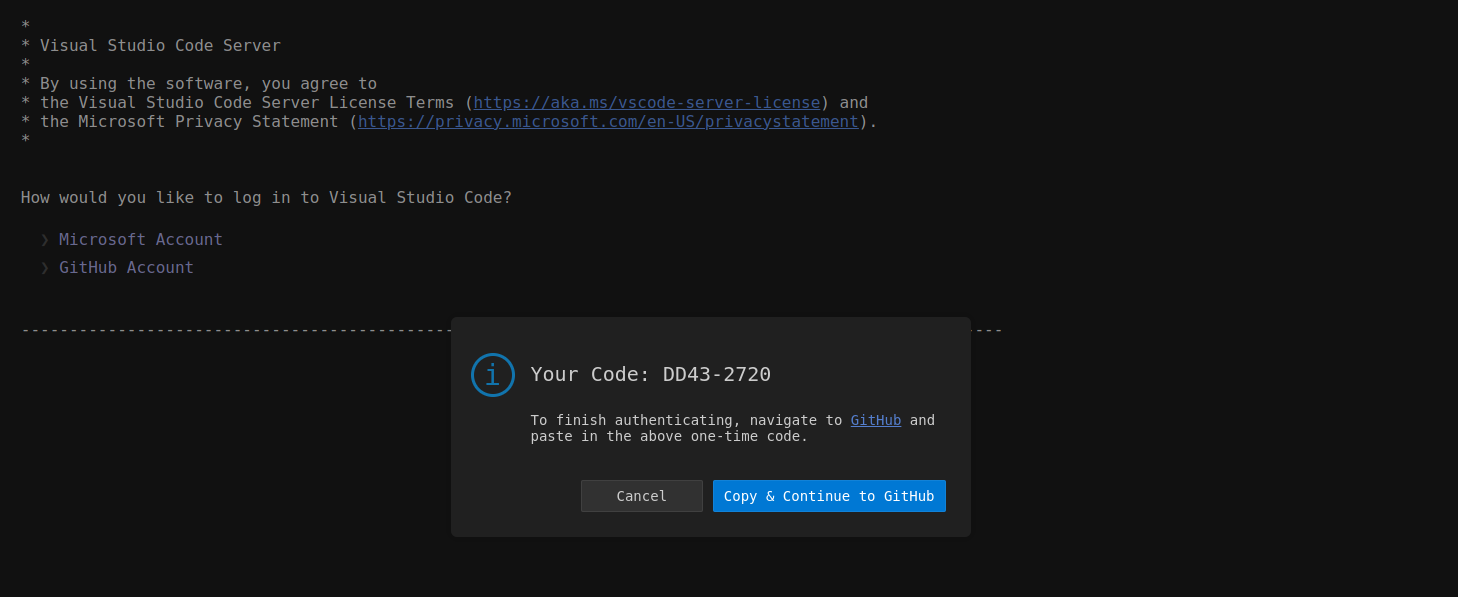
Complete the authentication process, paste the code from the clipboard, and follow the instructions. Upon successful authentication, close the pop-up and wait for the tunnel to your workspace to be created.
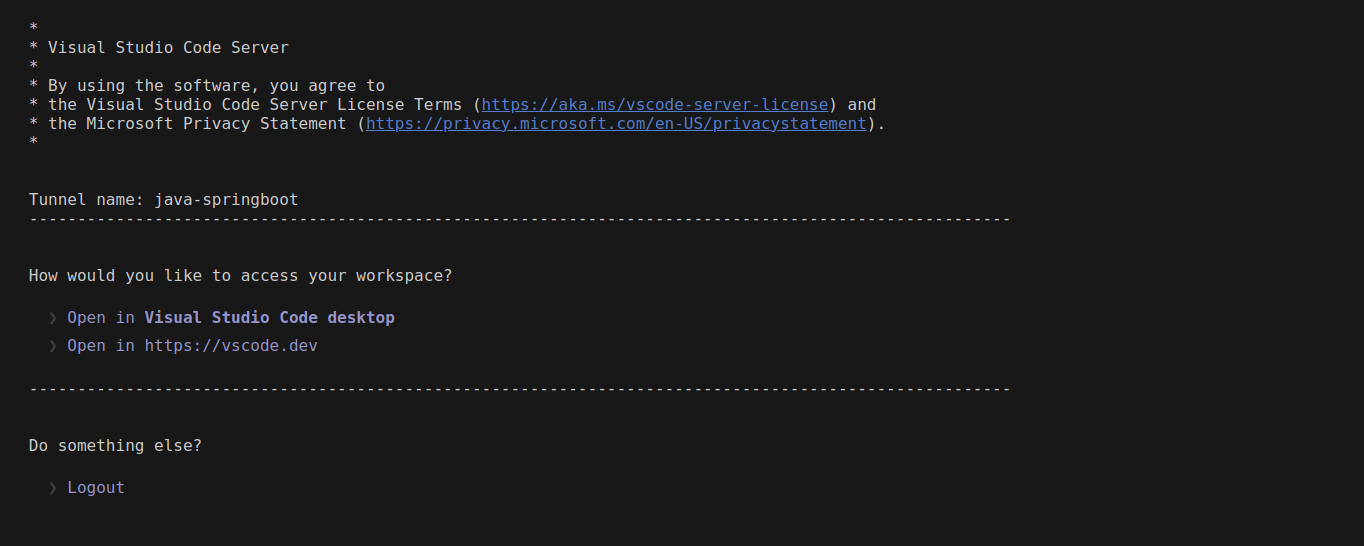
Click Open in Visual Studio Code desktop to open your workspace in the desktop version of Visual Studio Code. Confirm opening the desktop application by clicking Open Visual Studio Code - URL Handler.
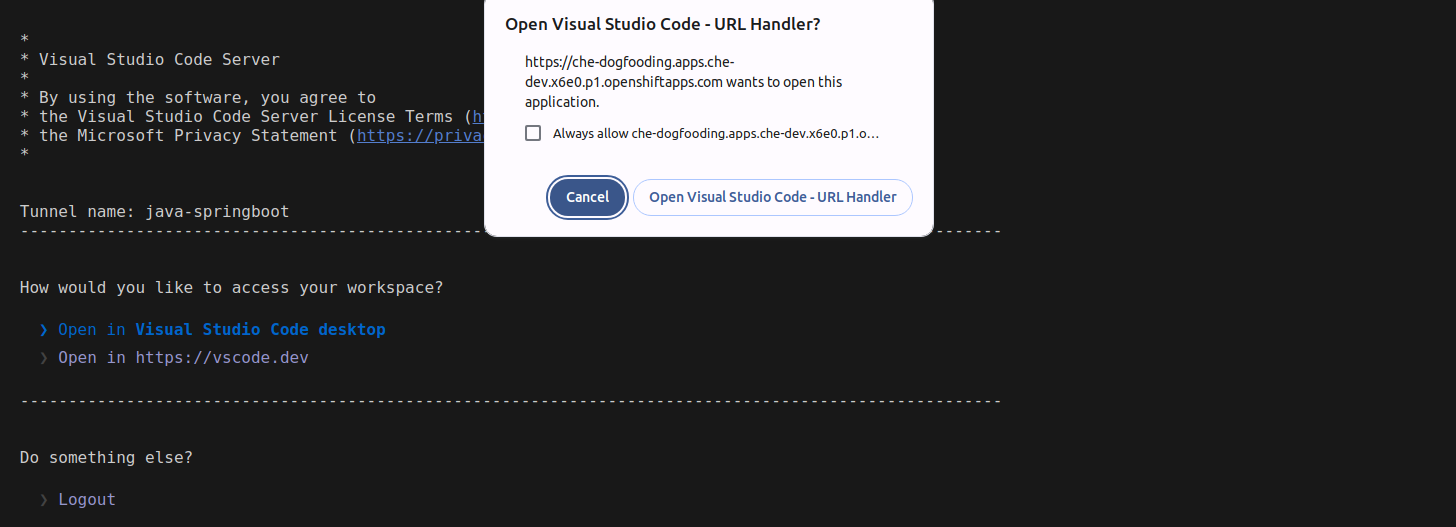
Wait for the local Visual Studio Code to load and allow the Remote - Tunnels extension to open the URI.
|
Note
|
If Visual Studio Code opens your workspace with a delay, open the Remote Explorer view. |
Connecting Visual Studio Code desktop to a running workspace
Prepare your local Visual Studio Code.
First, you need to install both Remote - Tunnels and Remote Explorer extensions to your local Visual Studio Code. It will allow you to connect to a remote machine via a secure tunnel.
Install Visual Studio Code CLI.
Next, you need to install Visual Studio Code CLI in your
workspace. Open a terminal and run the following command
to install Visual Studio Code CLI in the
/checode directory.
curl 'https://code.visualstudio.com/sha/download?build=stable&os=cli-alpine-x64' --location -o /tmp/code.tar.gz && \
tar -xvzf /tmp/code.tar.gz --directory=/checode|
Important
|
If you don’t have
In this case you need to:
|
By placing the Visual Studio Code CLI binary in the
/checode directory, it will persist even if
the workspace is restarted.
Create a secure tunnel to the Cloud Development Environment.
Open the workspace terminal and launch the Visual Studio Code CLI with the command below.
/checode/code tunnel --accept-server-license-terms --name $DEVWORKSPACE_NAMELog in using your Microsoft or GitHub account.
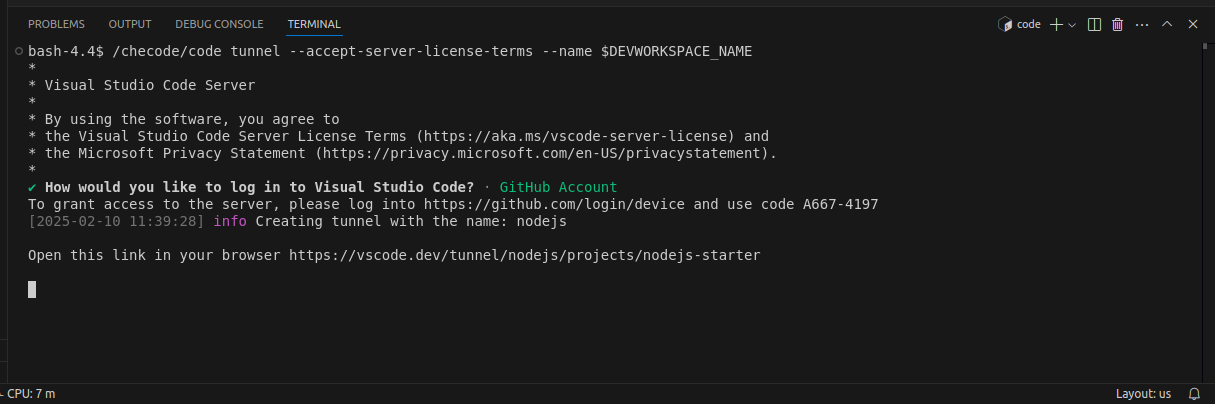
After successful login, you will see the information about the created tunnel and will be prompted to open the workspace in your browser.
Open your workspace using local Visual Studio Code.
Open your local Visual Studio Code and navigate to the Remote Explorer view. A tunnel to your workspace will appear. With the buttons on the right, open your workspace in the current or a new window.
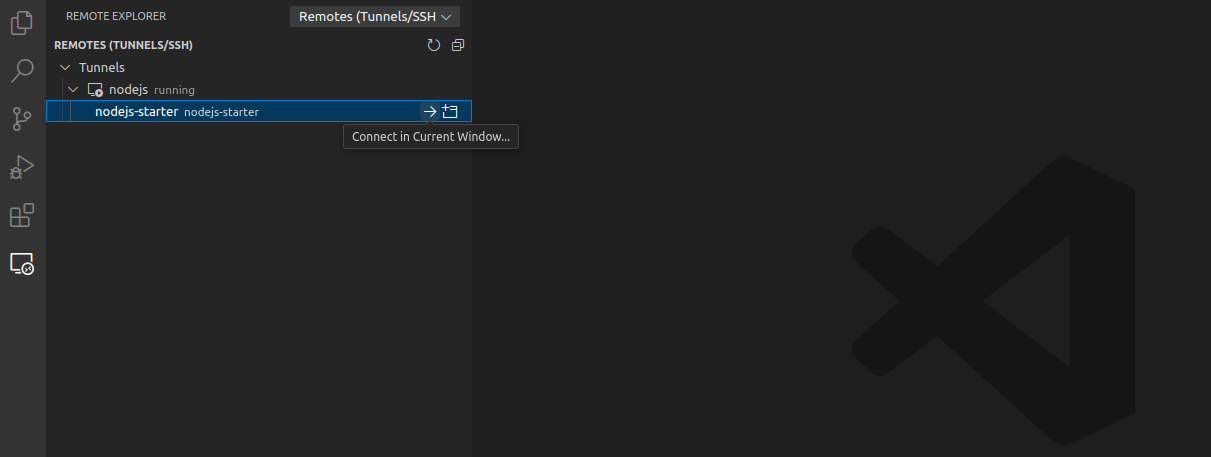
|
Note
|
A tunnel to your workspace will not appear if you are not signed in yet. Sign in using the same account you used to create the tunnel. |
You are now equipped to develop locally within a Cloud
Development Environment.
Happy coding!