Running Open VSX On-Premises
Introduction
Developers love extensions — they customize editors, add new languages, and streamline workflows. But in enterprise environments, relying on the public Open VSX registry can introduce challenges: air-gapped environments, compliance rules, or simply the need for a curated list of approved tools.
That’s where running Open VSX On-Premises comes in. In this post, we’ll explore how Eclipse Che makes it easy to deploy and configure your own extension registry, using nothing more than an Eclipse Che Cloud Development Environment running on the OpenShift cluster.
Step-by-Step: Preparing Eclipse Open VSX with Eclipse Che
All the following steps can be executed inside an Eclipse Che workspace provisioned from the Open VSX repository’s devfile. This Devfile automates most of the work — so instead of manually stitching pieces together, you simply run tasks in sequence.
Prerequisites:
-
You must be running Eclipse Che on an OpenShift cluster.
-
You must be logged in as a cluster administrator.
Step 1: Start the Open VSX Workspace
Create a workspace using the Open VSX repository. This initializes an environment with all required components and tasks.
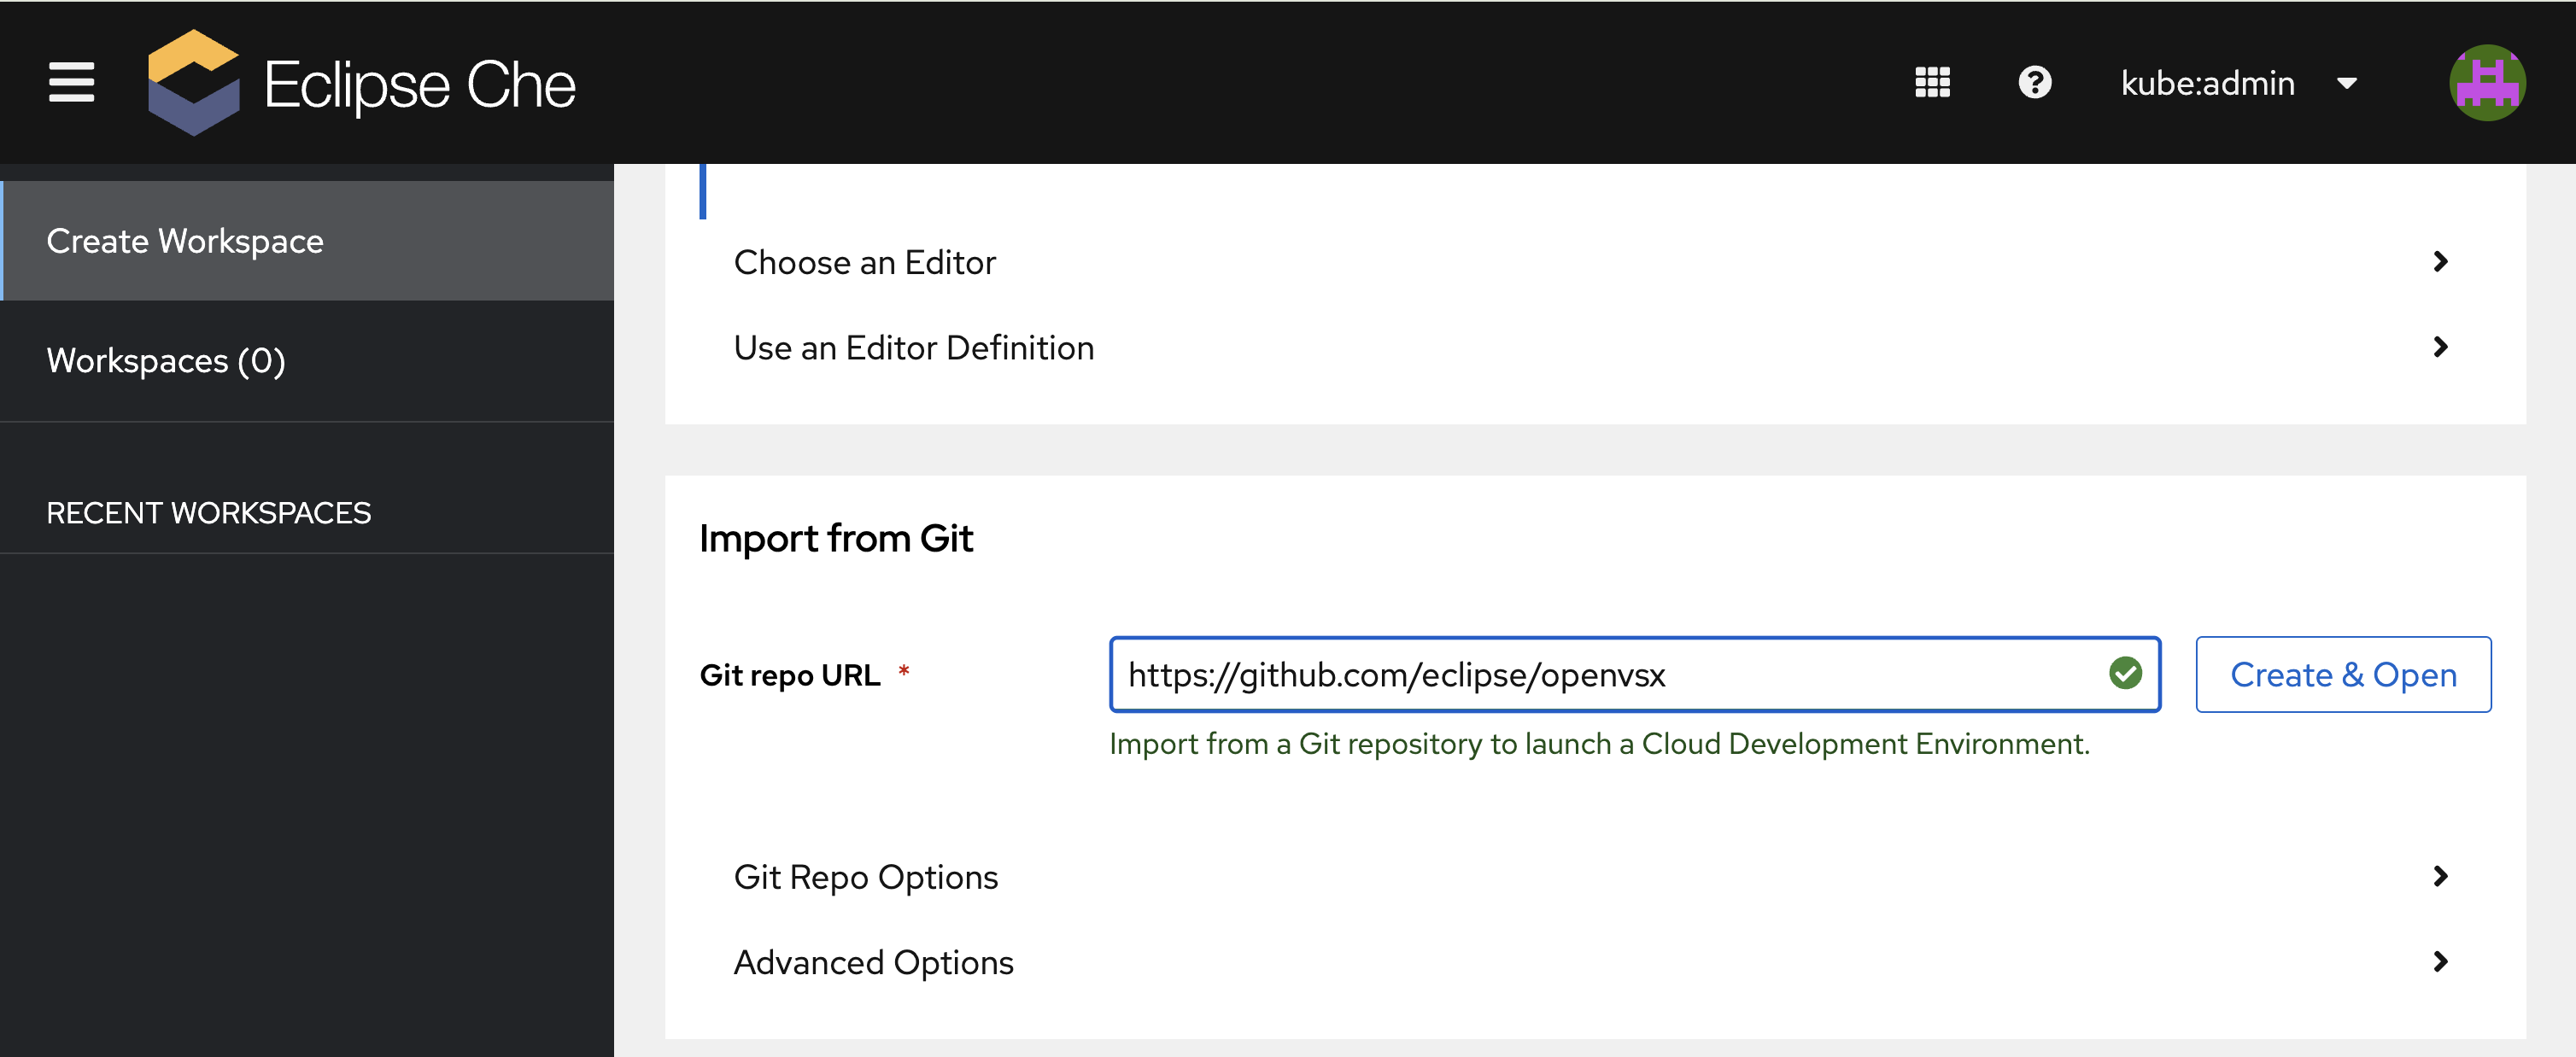
Figure 1: User Dashboard
Step 2: Create an OpenShift project for Open VSX
Run the Devfile task:
Terminal → Run Task… → devfile → 2.1. Create Namespace for OpenVSXThis creates a new OpenShift project named openvsx.
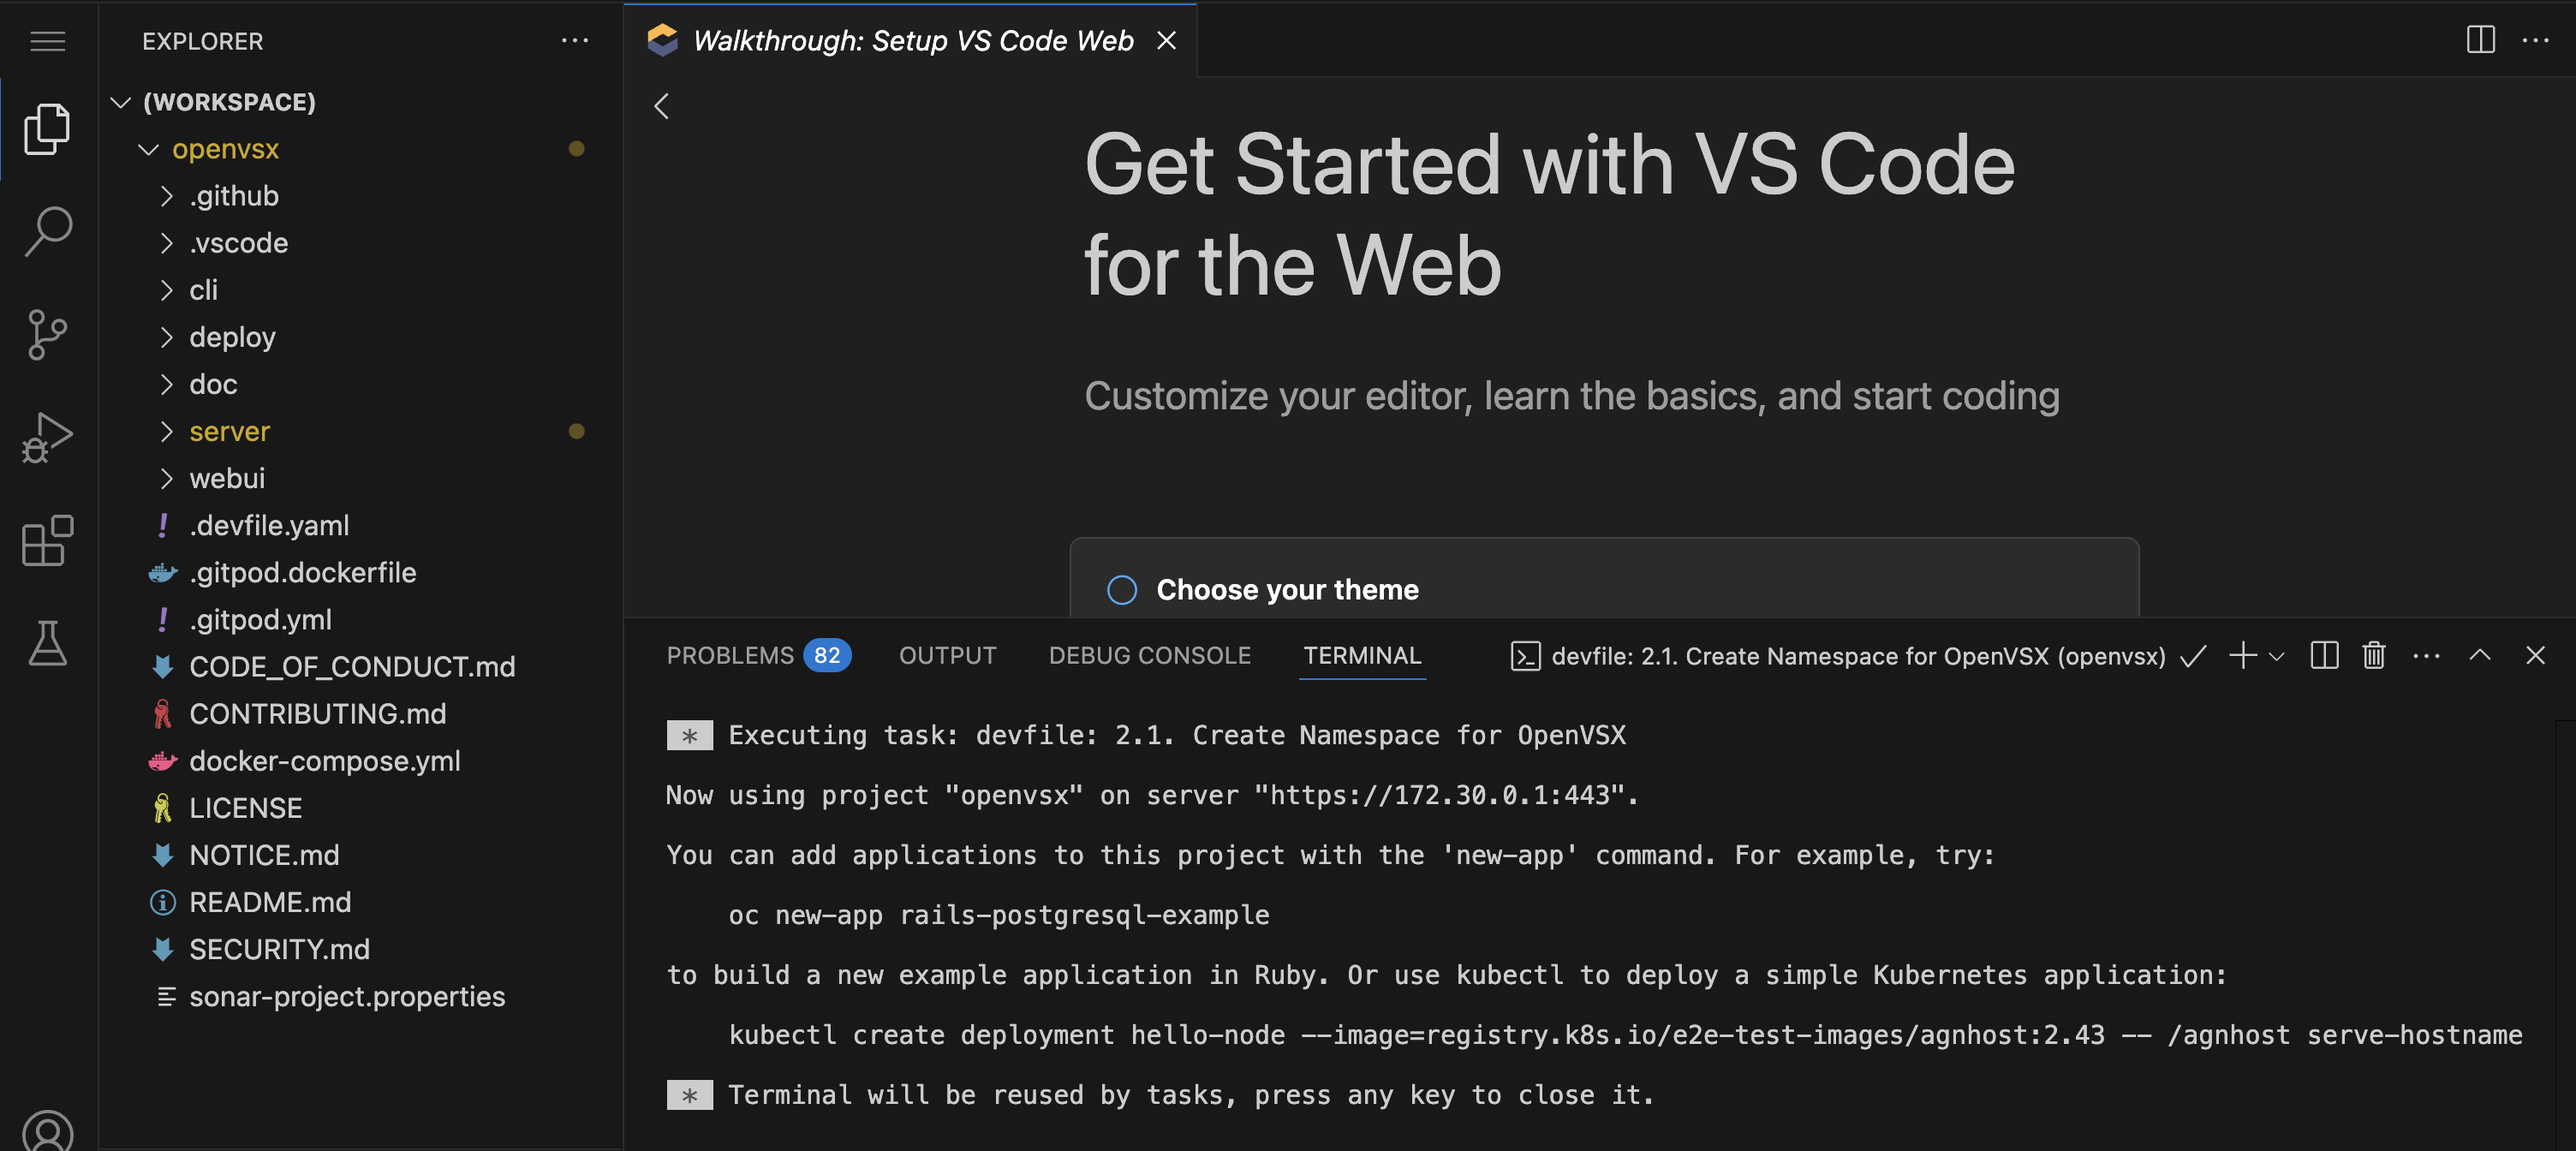
Figure 2: Open VSX namespace creation
Step 3: Build and Publish the Open VSX Server Image
Run the task:
Terminal → Run Task… → devfile → 2.2. Build and Publish Open VSX ImageYou’ll be prompted for the Open VSX version (defaults to v0.27.0 if left blank). The image is built and pushed to the OpenShift internal registry.
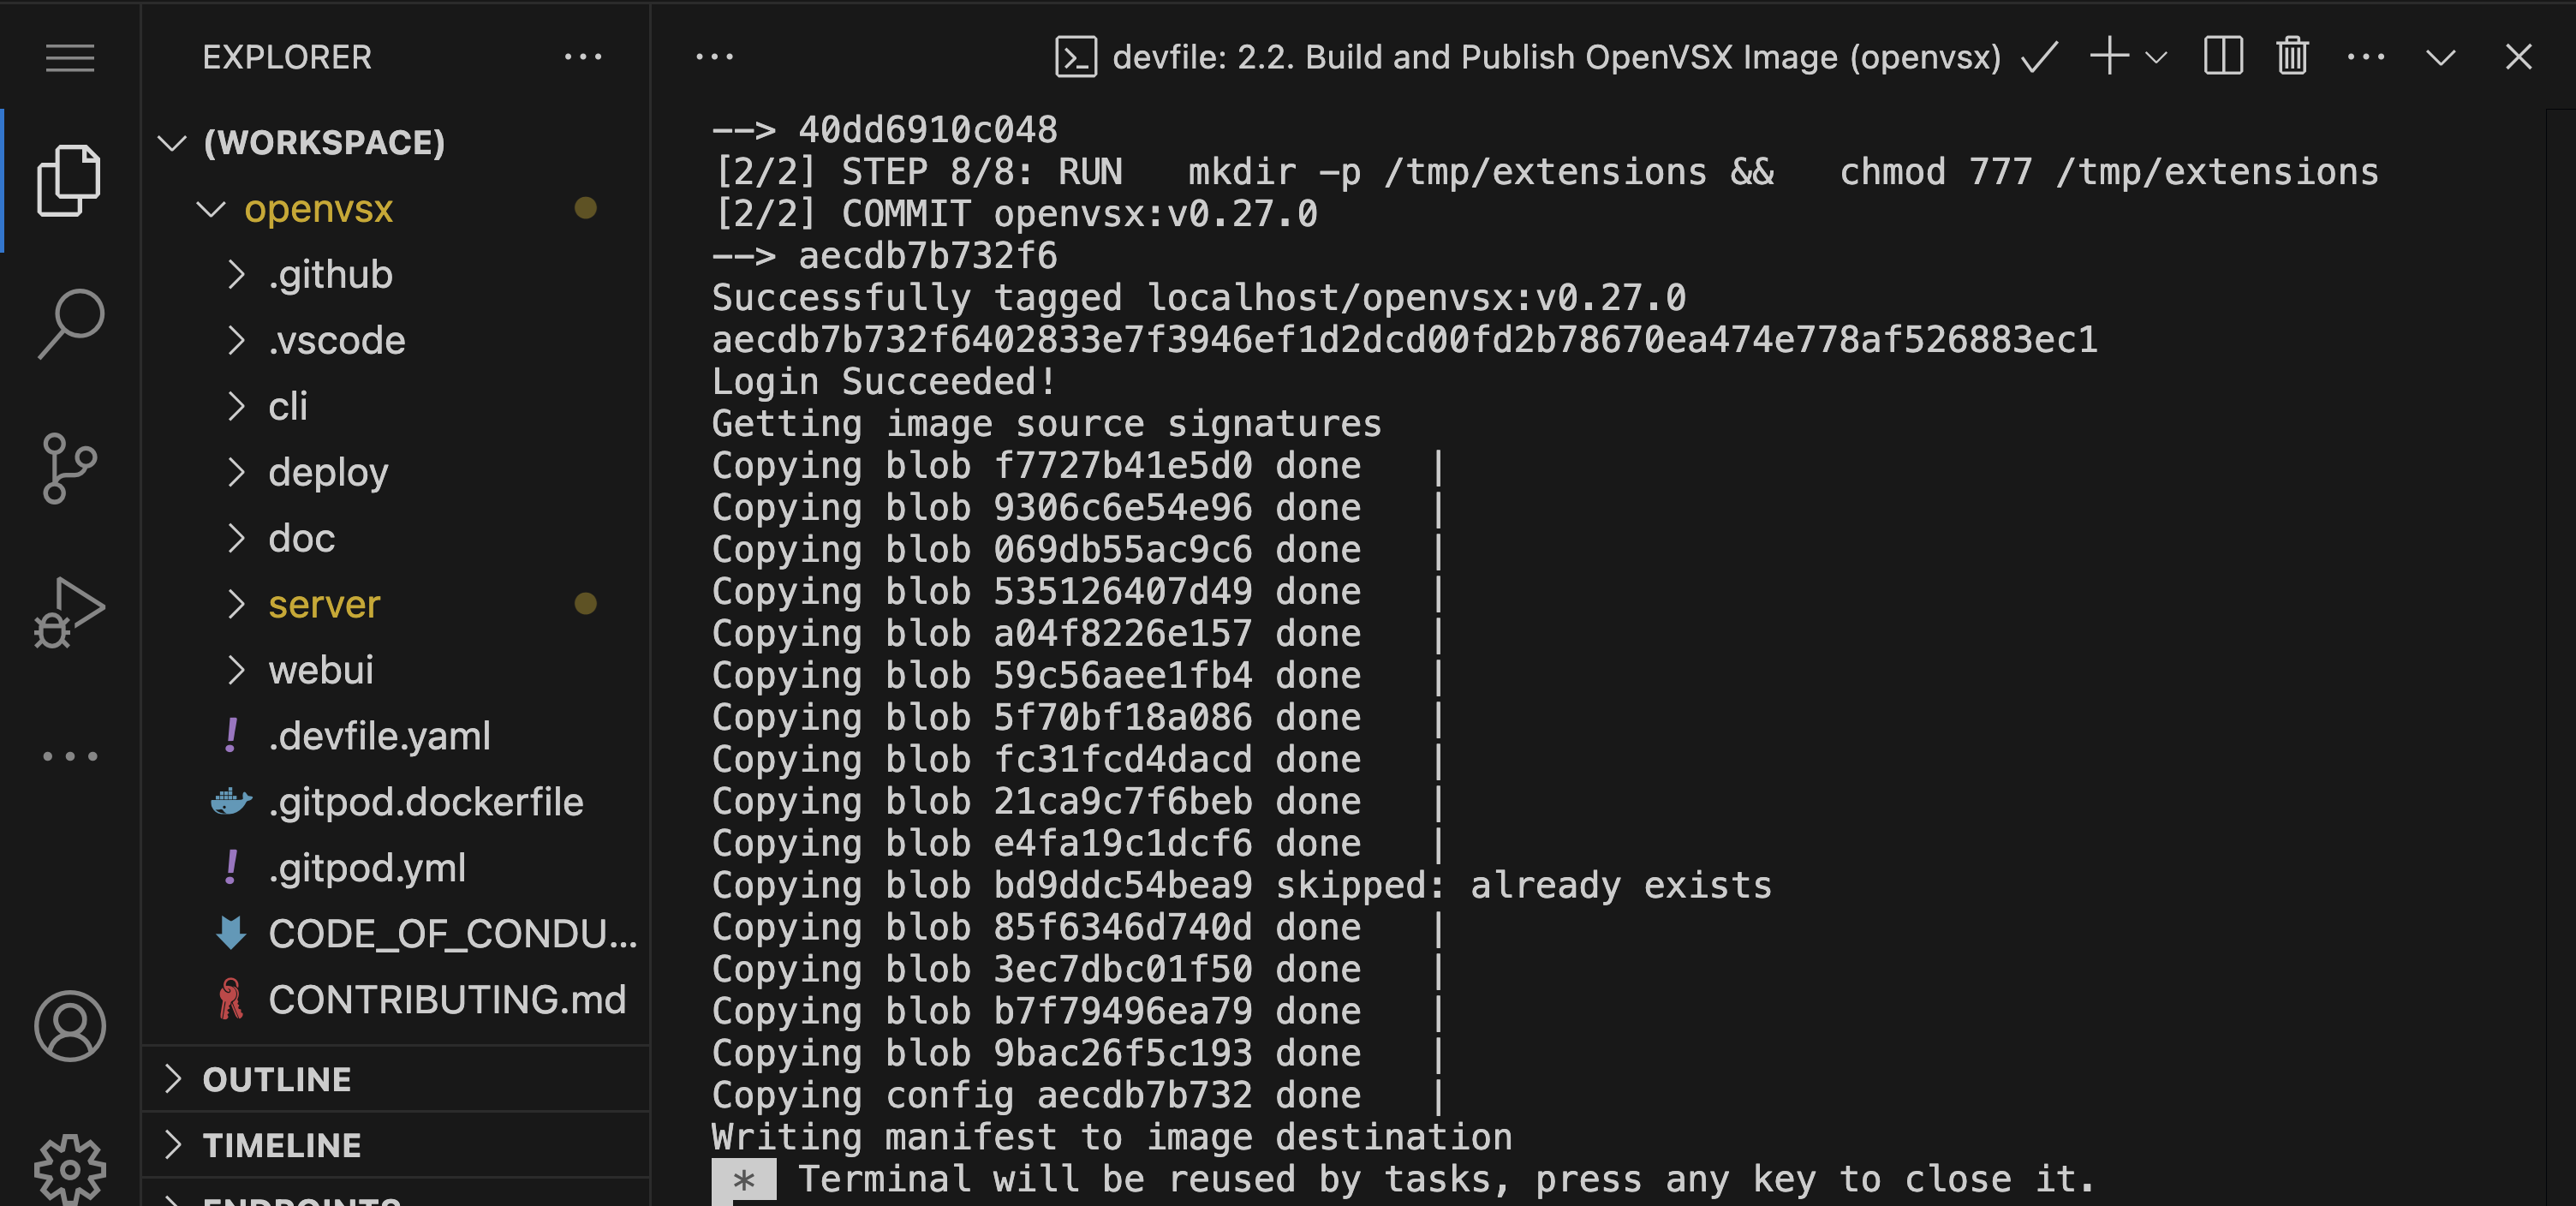
Figure 3: Open VSX server image build
Step 4: Build and Publish the Open VSX CLI (ovsx) Image
Run the task:
Terminal → Run Task… → devfile → 2.3. Build and Publish OpenVSX CLI ImageThis prepares the ovsx CLI image and uploads it to the cluster registry.
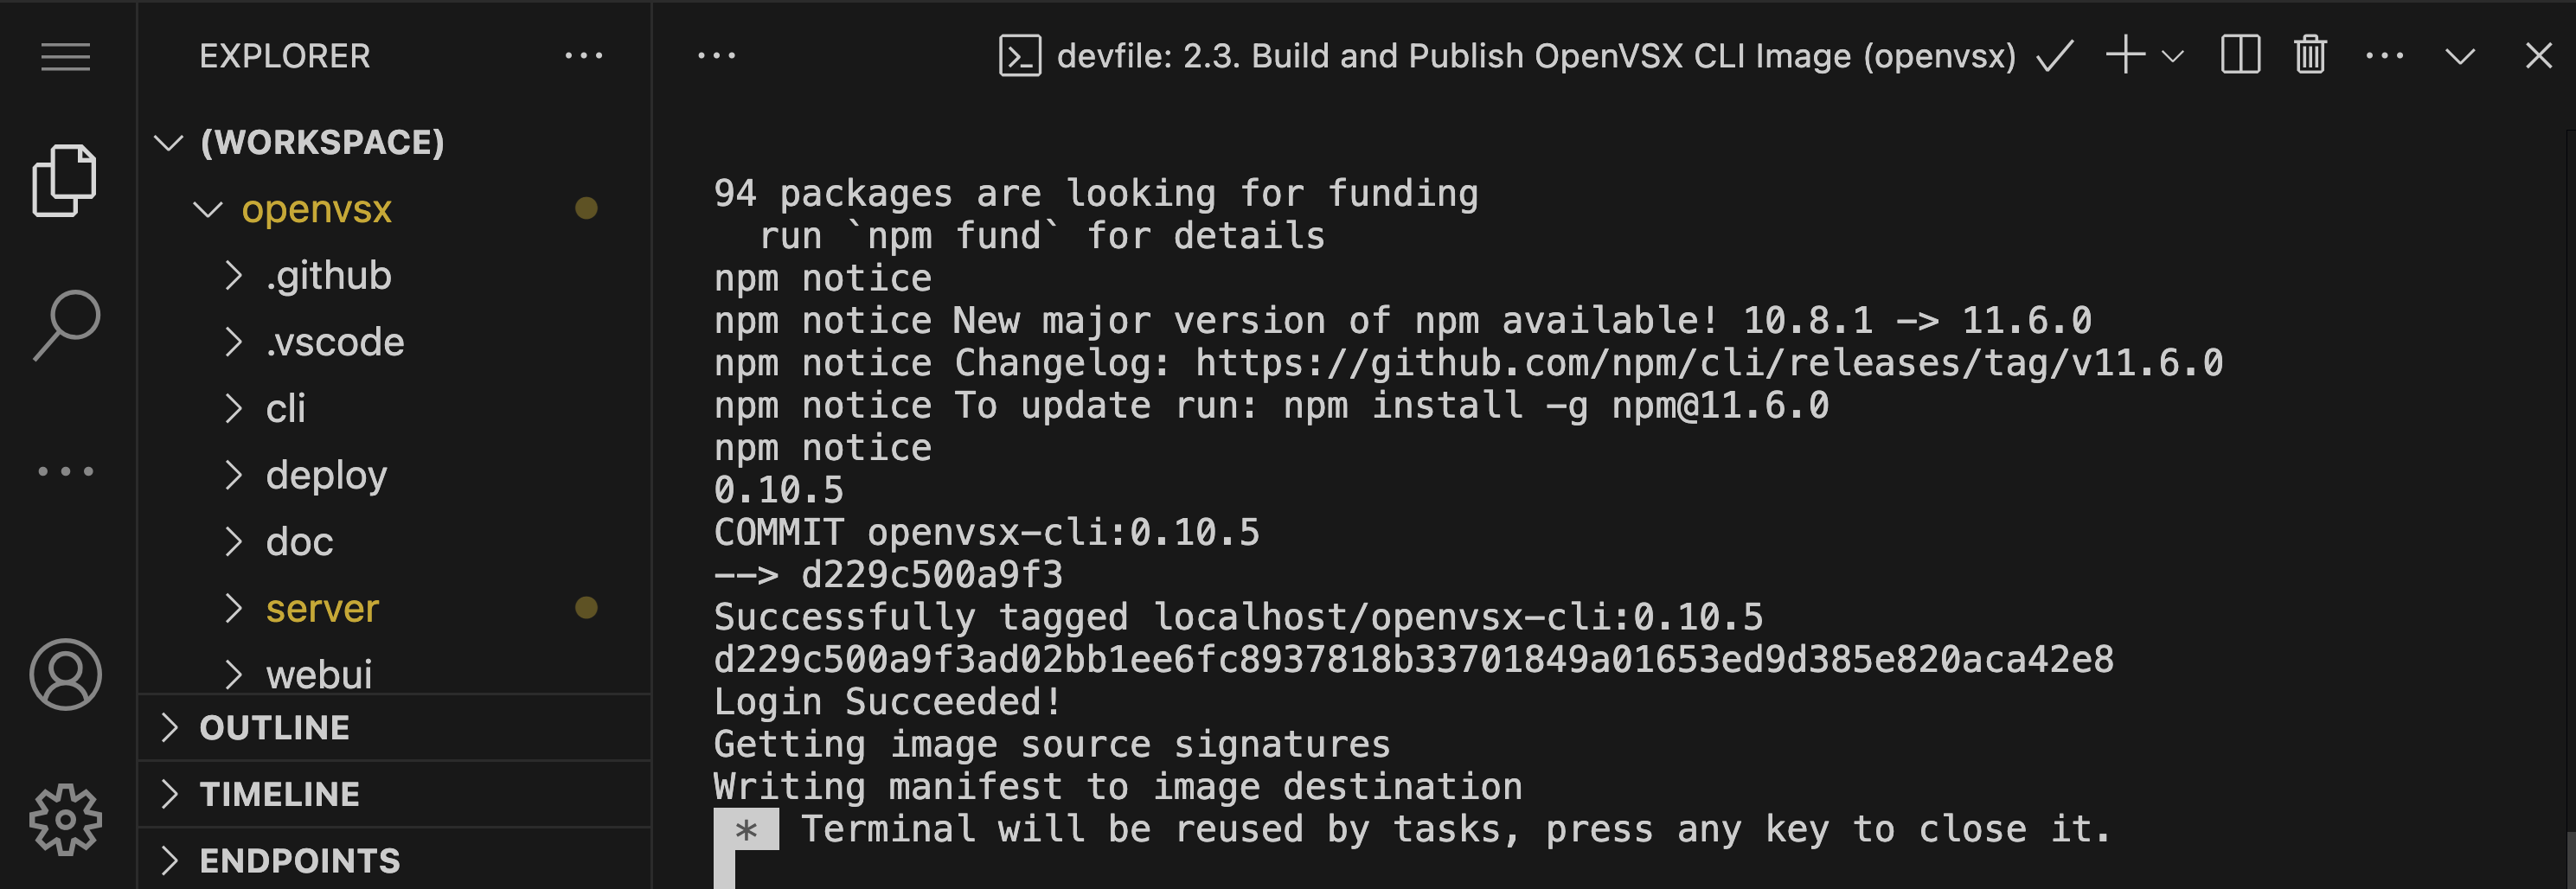
Figure 4: Open VSX CLI image build
Step 5: Deploy Open VSX Components
Run the task:
Terminal → Run Task… → devfile → 2.4. Deploy OpenVSXThis command deploys the Open VSX components to an OpenShift project by processing a template file (openvsx-deployment.yml). It creates all required resources defined in the template, which includes:
-
Deployments (PostgreSQL, Elasticsearch, Open VSX server, Open VSX CLI).
-
Services and Routes for accessing components.
-
Secrets for GitHub OAuth credentials and Open VSX personal access token.
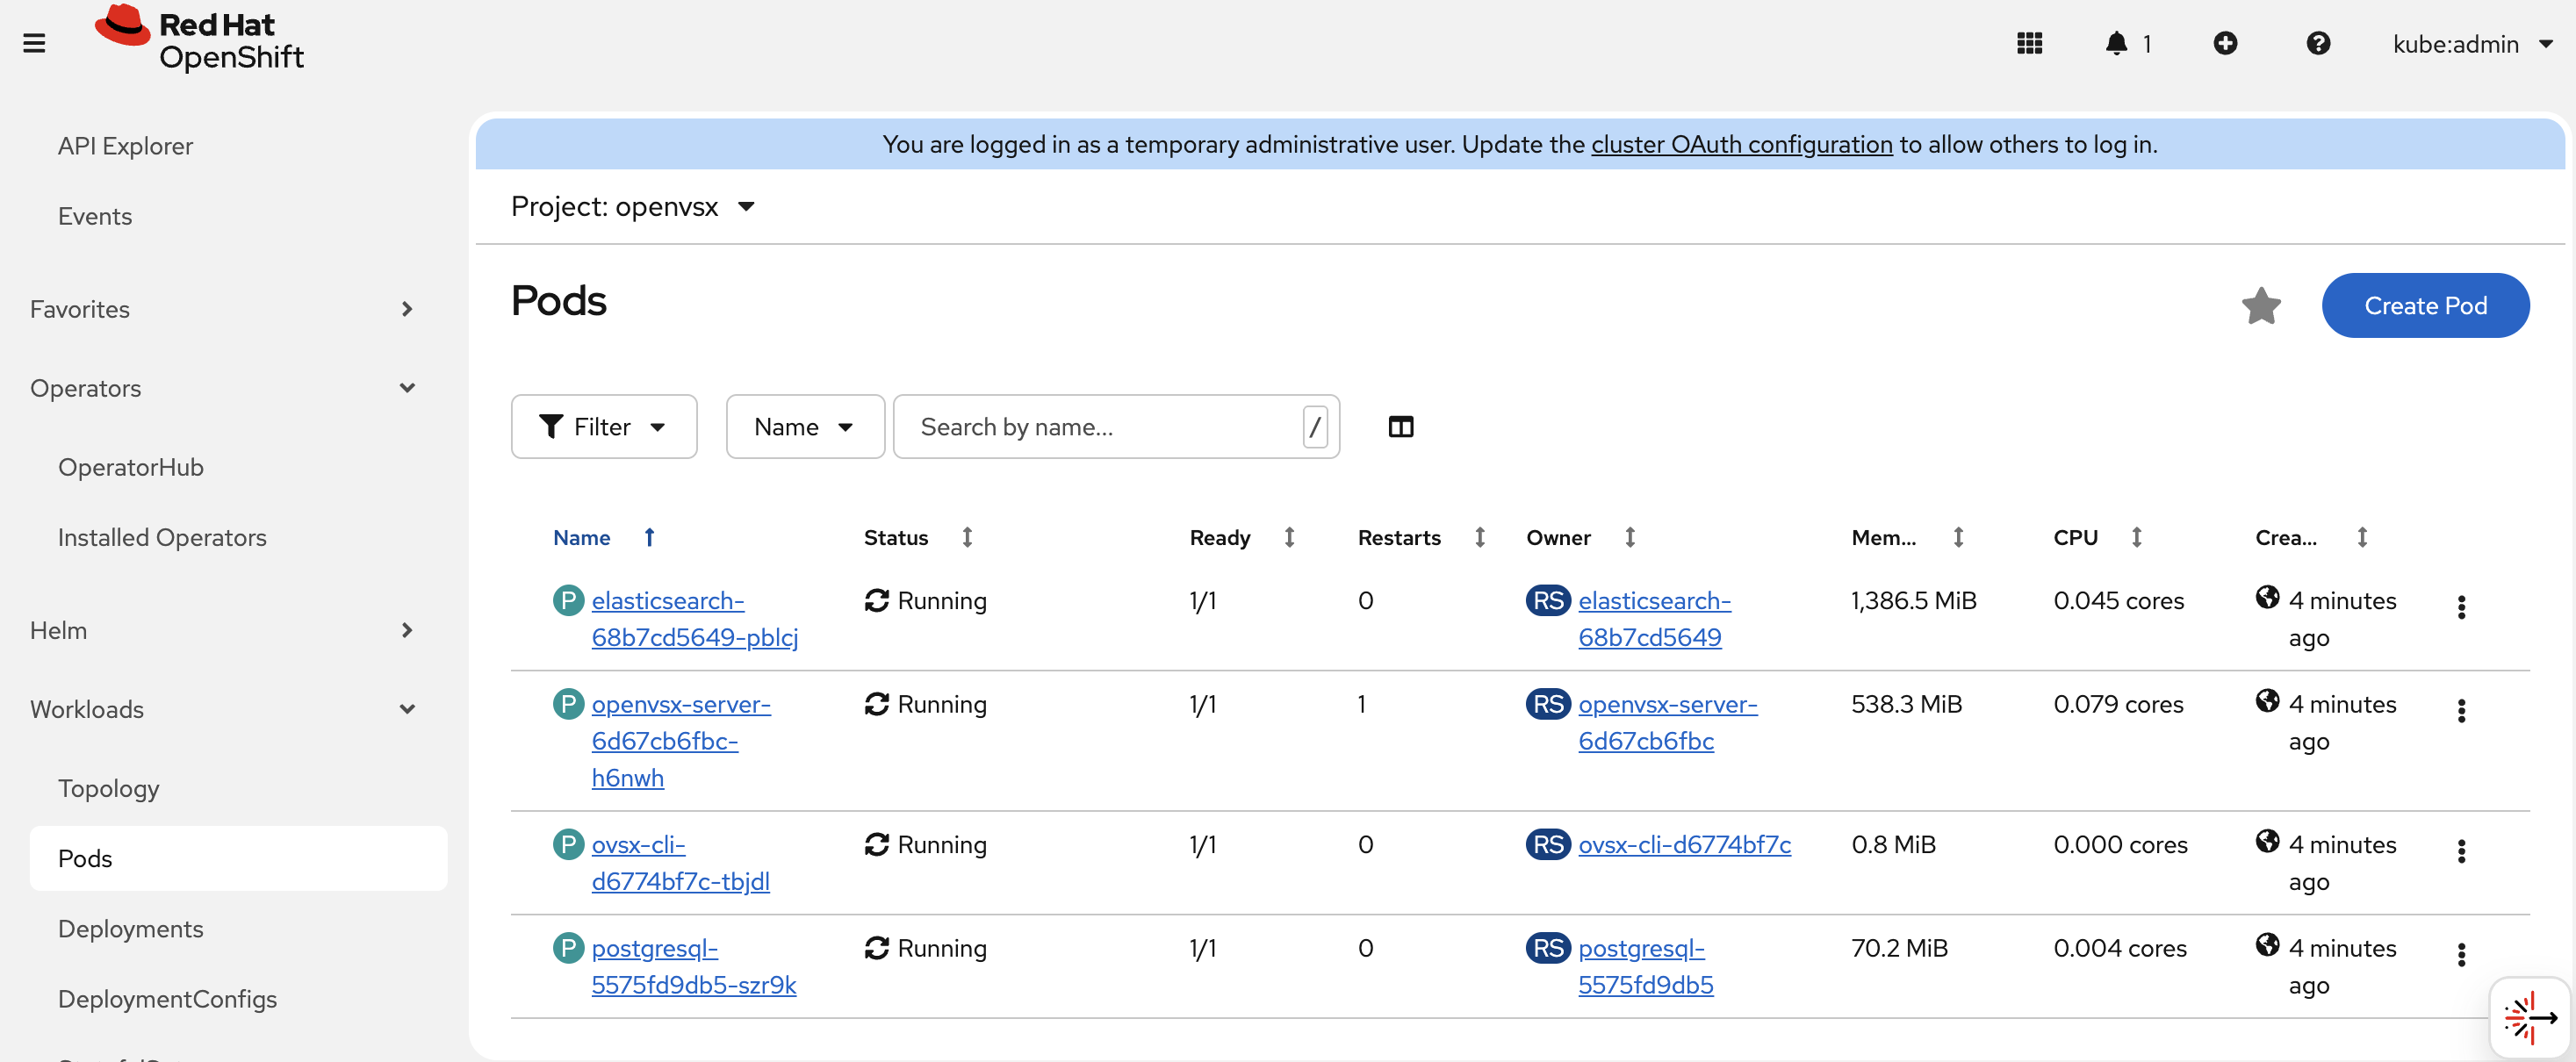
Figure 5: Open VSX pods running in OpenShift console
Step 6: Add a User with Personal Access Token (PAT)
Run the task :
Terminal → Run Task… → devfile → 2.5. Add OpenVSX user with PAT to the DBThe command will ask for the Open VSX username and user PAT and insert them into the PostgreSQL database. You can just click enter to use the default values.
|
Important
|
❗ The user PAT must match the decoded value of OVSX_PAT_BASE64 specified in the deployment file. If OVSX_PAT_BASE64 has been updated, use the new token’s decoded value as the user PAT. |
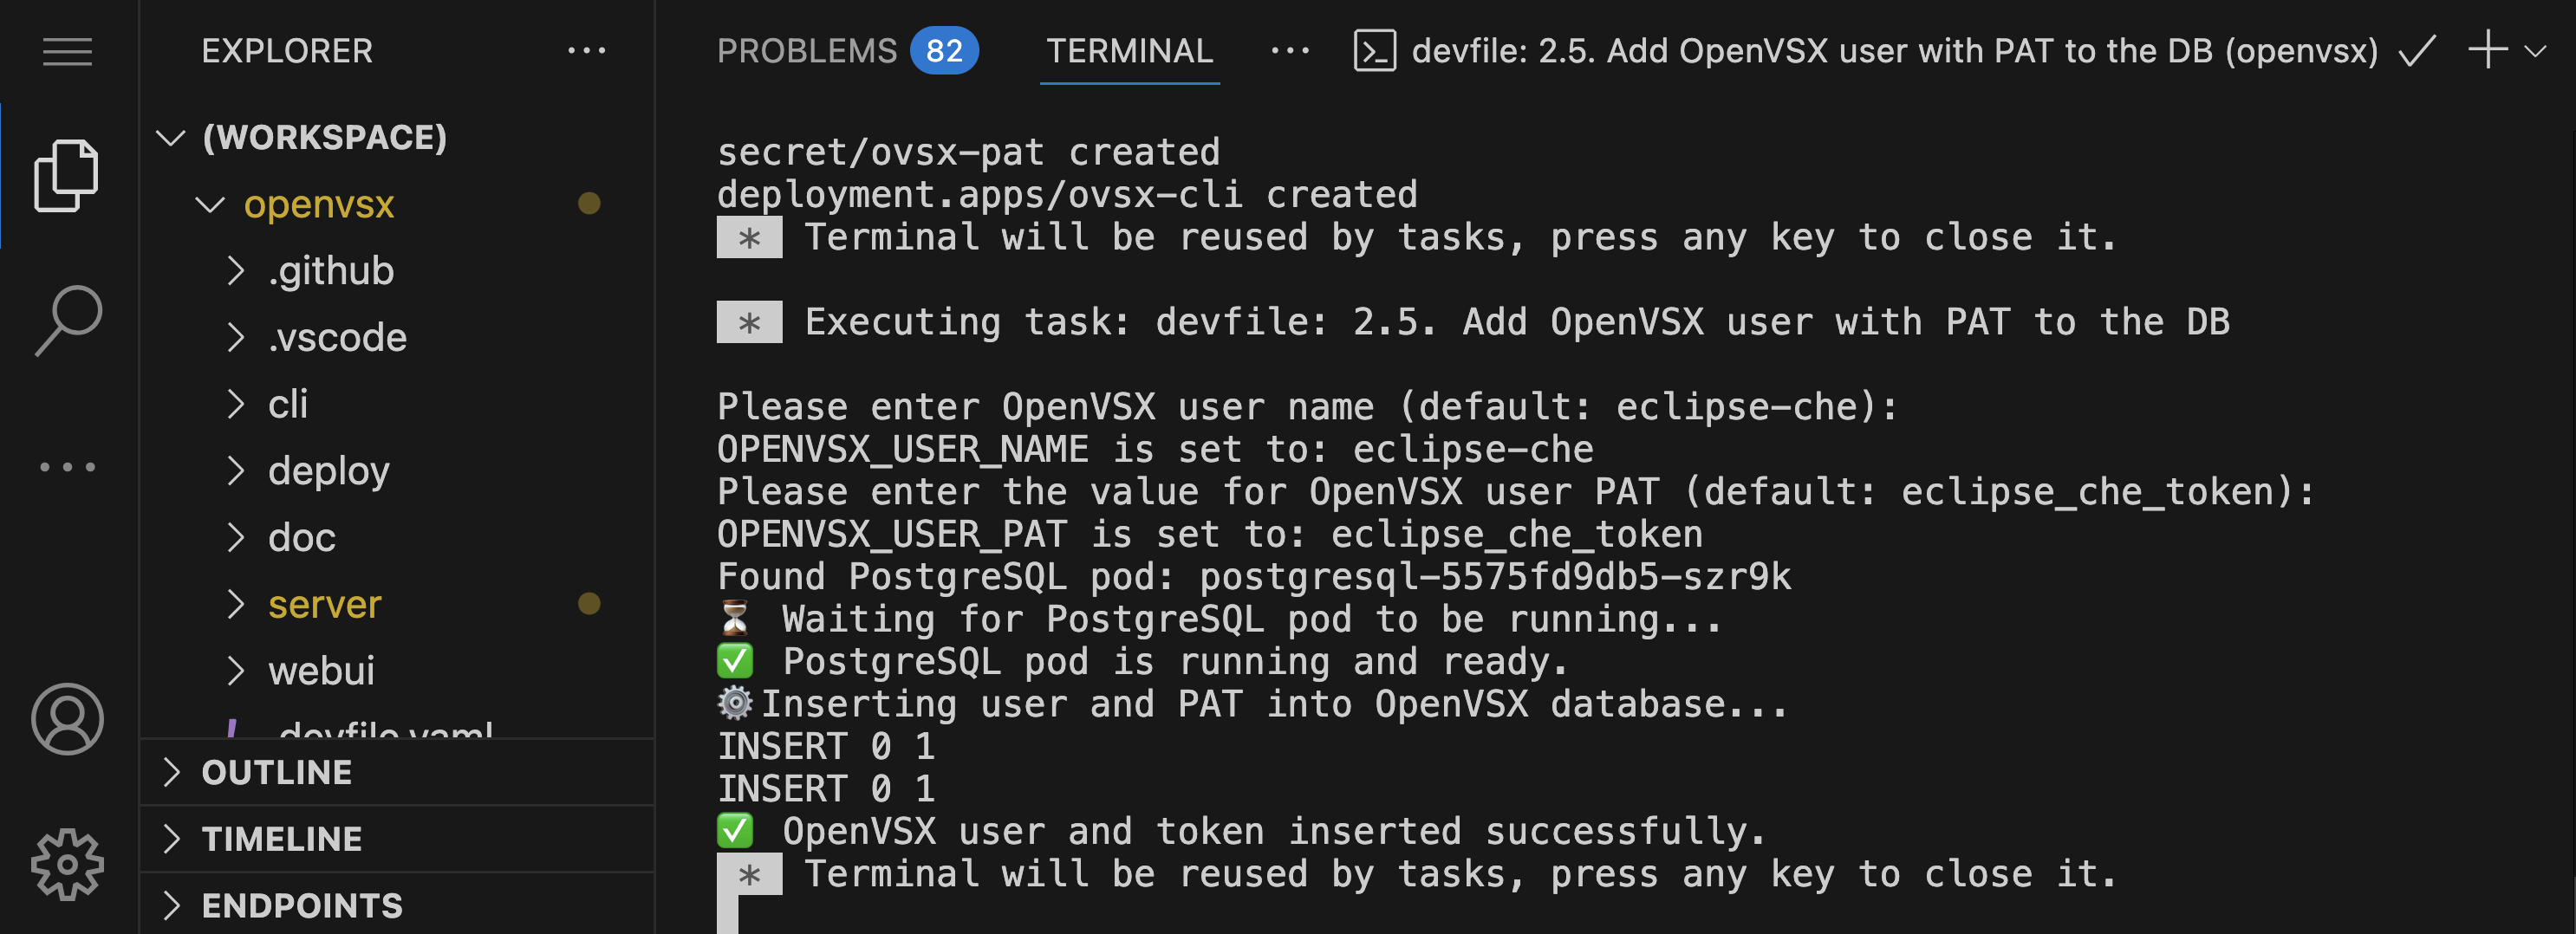
Figure 6: Terminal output after adding a user with a PAT
Step 7: Configure Eclipse Che to Use Your Internal Registry
Run the task:
Terminal → Run Task… → devfile → 2.6. Configure Che to use the internal OpenVSX registry
This patches the CheCluster CR, updating the
pluginRegistry.openVSXURL to point to your
internal Open VSX endpoint.
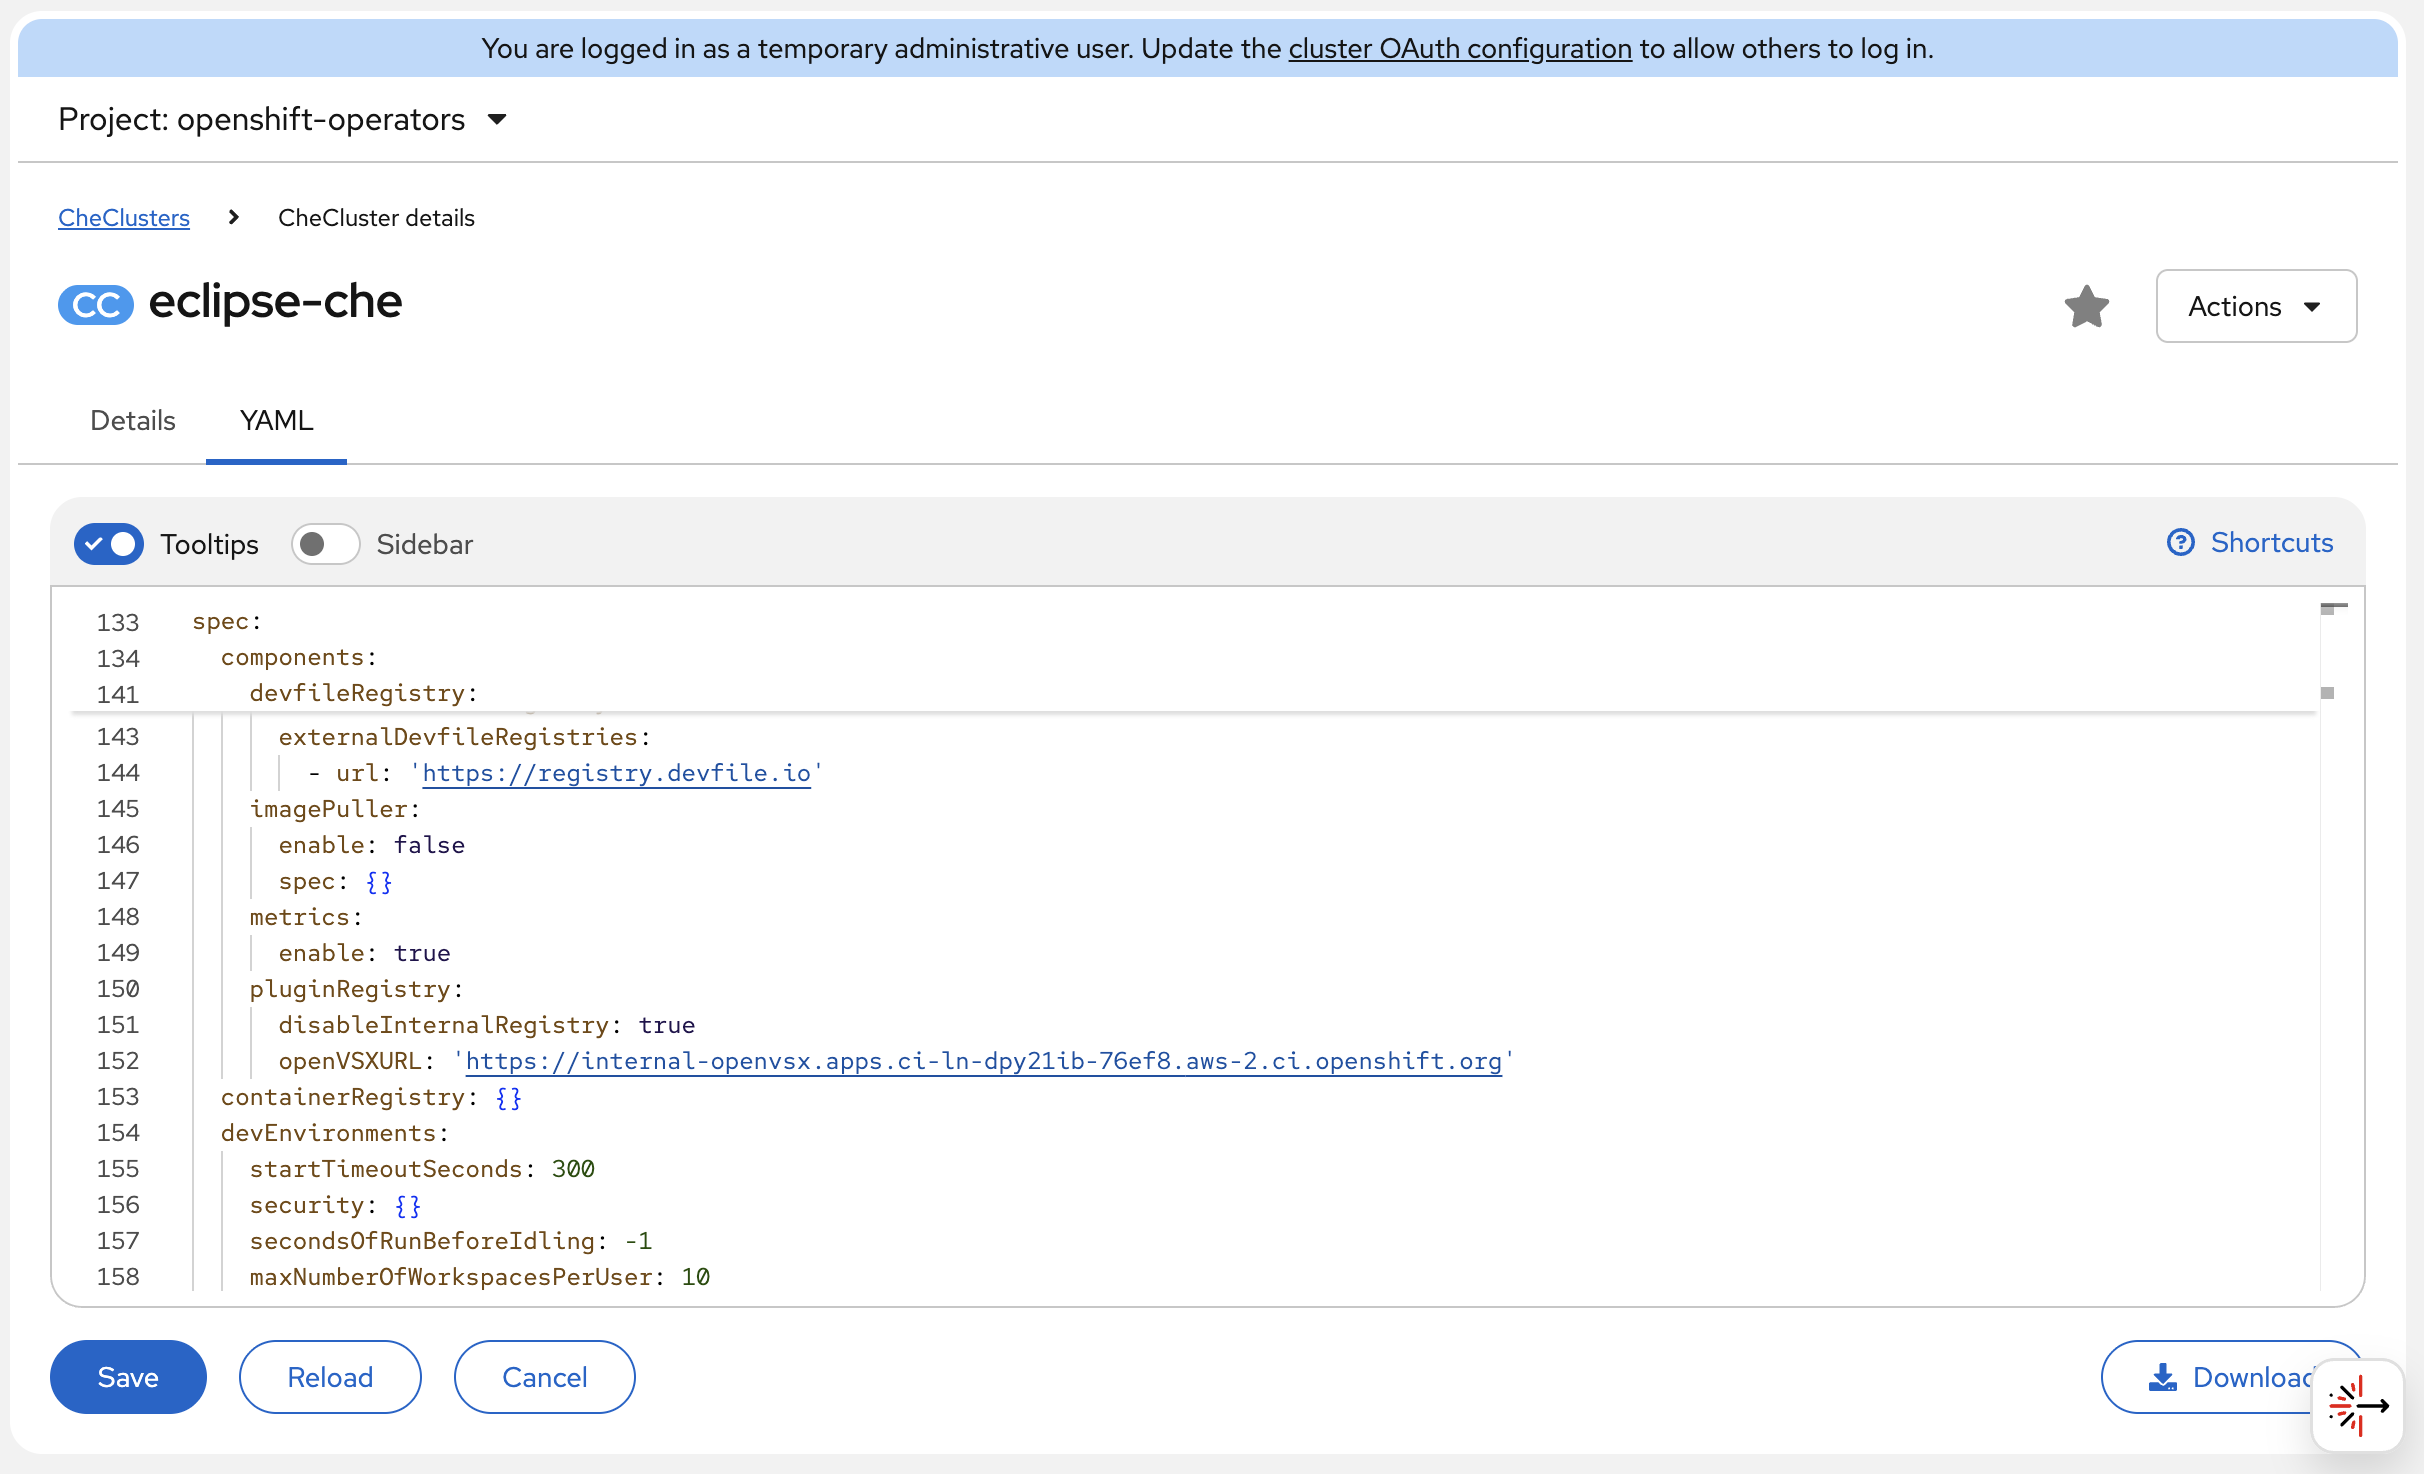
Figure 7: CheCluster custom resource after patching
Step 8: Publish Extensions via VSIX File
At the beginning, the Open VSX registry does not provide
any extensions. Once the openvsx-server pod is running and
in the Ready state, extensions can be published to the
registry. The
2.8. Publish a Visual Studio Code Extension from a VSIX
                        file
command publishes an extension to the local Open VSX
registry directly from a .vsix file. It
prompts you to provide the extension’s namespace name and
the path to the .vsix file.
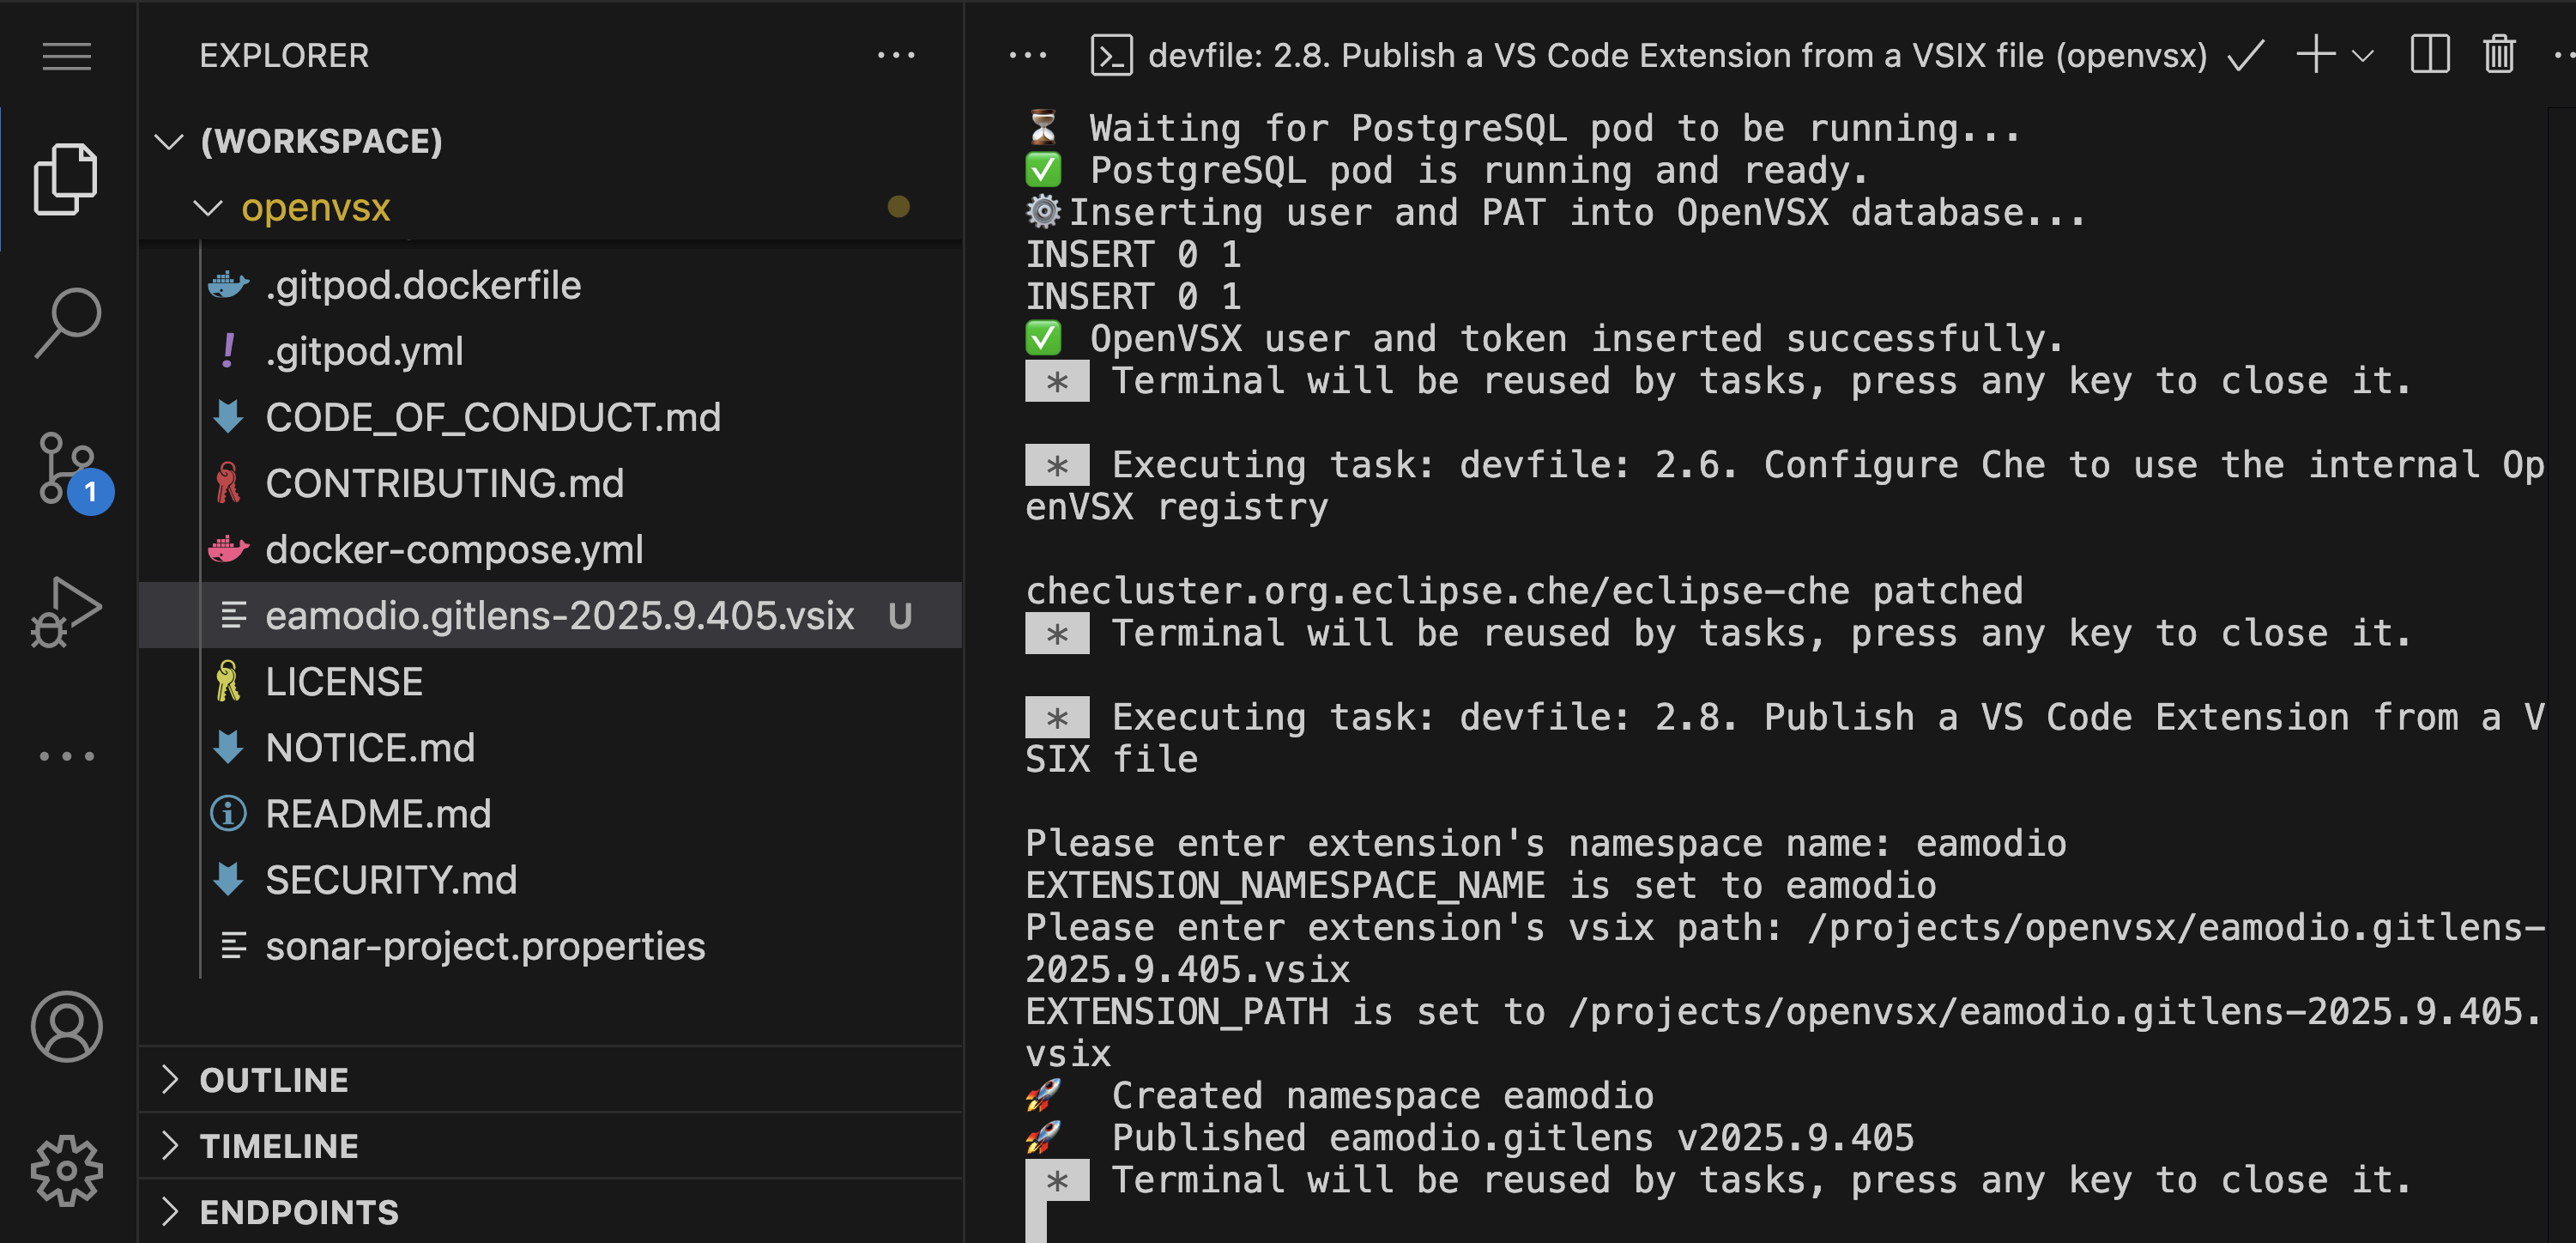
Figure 8: Publish GitLens extension from the local vsix file
Step 9: Batch Publish Extensions from a List
For multiple extensions, run:
Terminal → Run Task… → devfile → 2.9. Publish list of Visual Studio Code ExtensionsThis task reads URLs from deploy/openshift/extensions.txt and publishes them automatically.
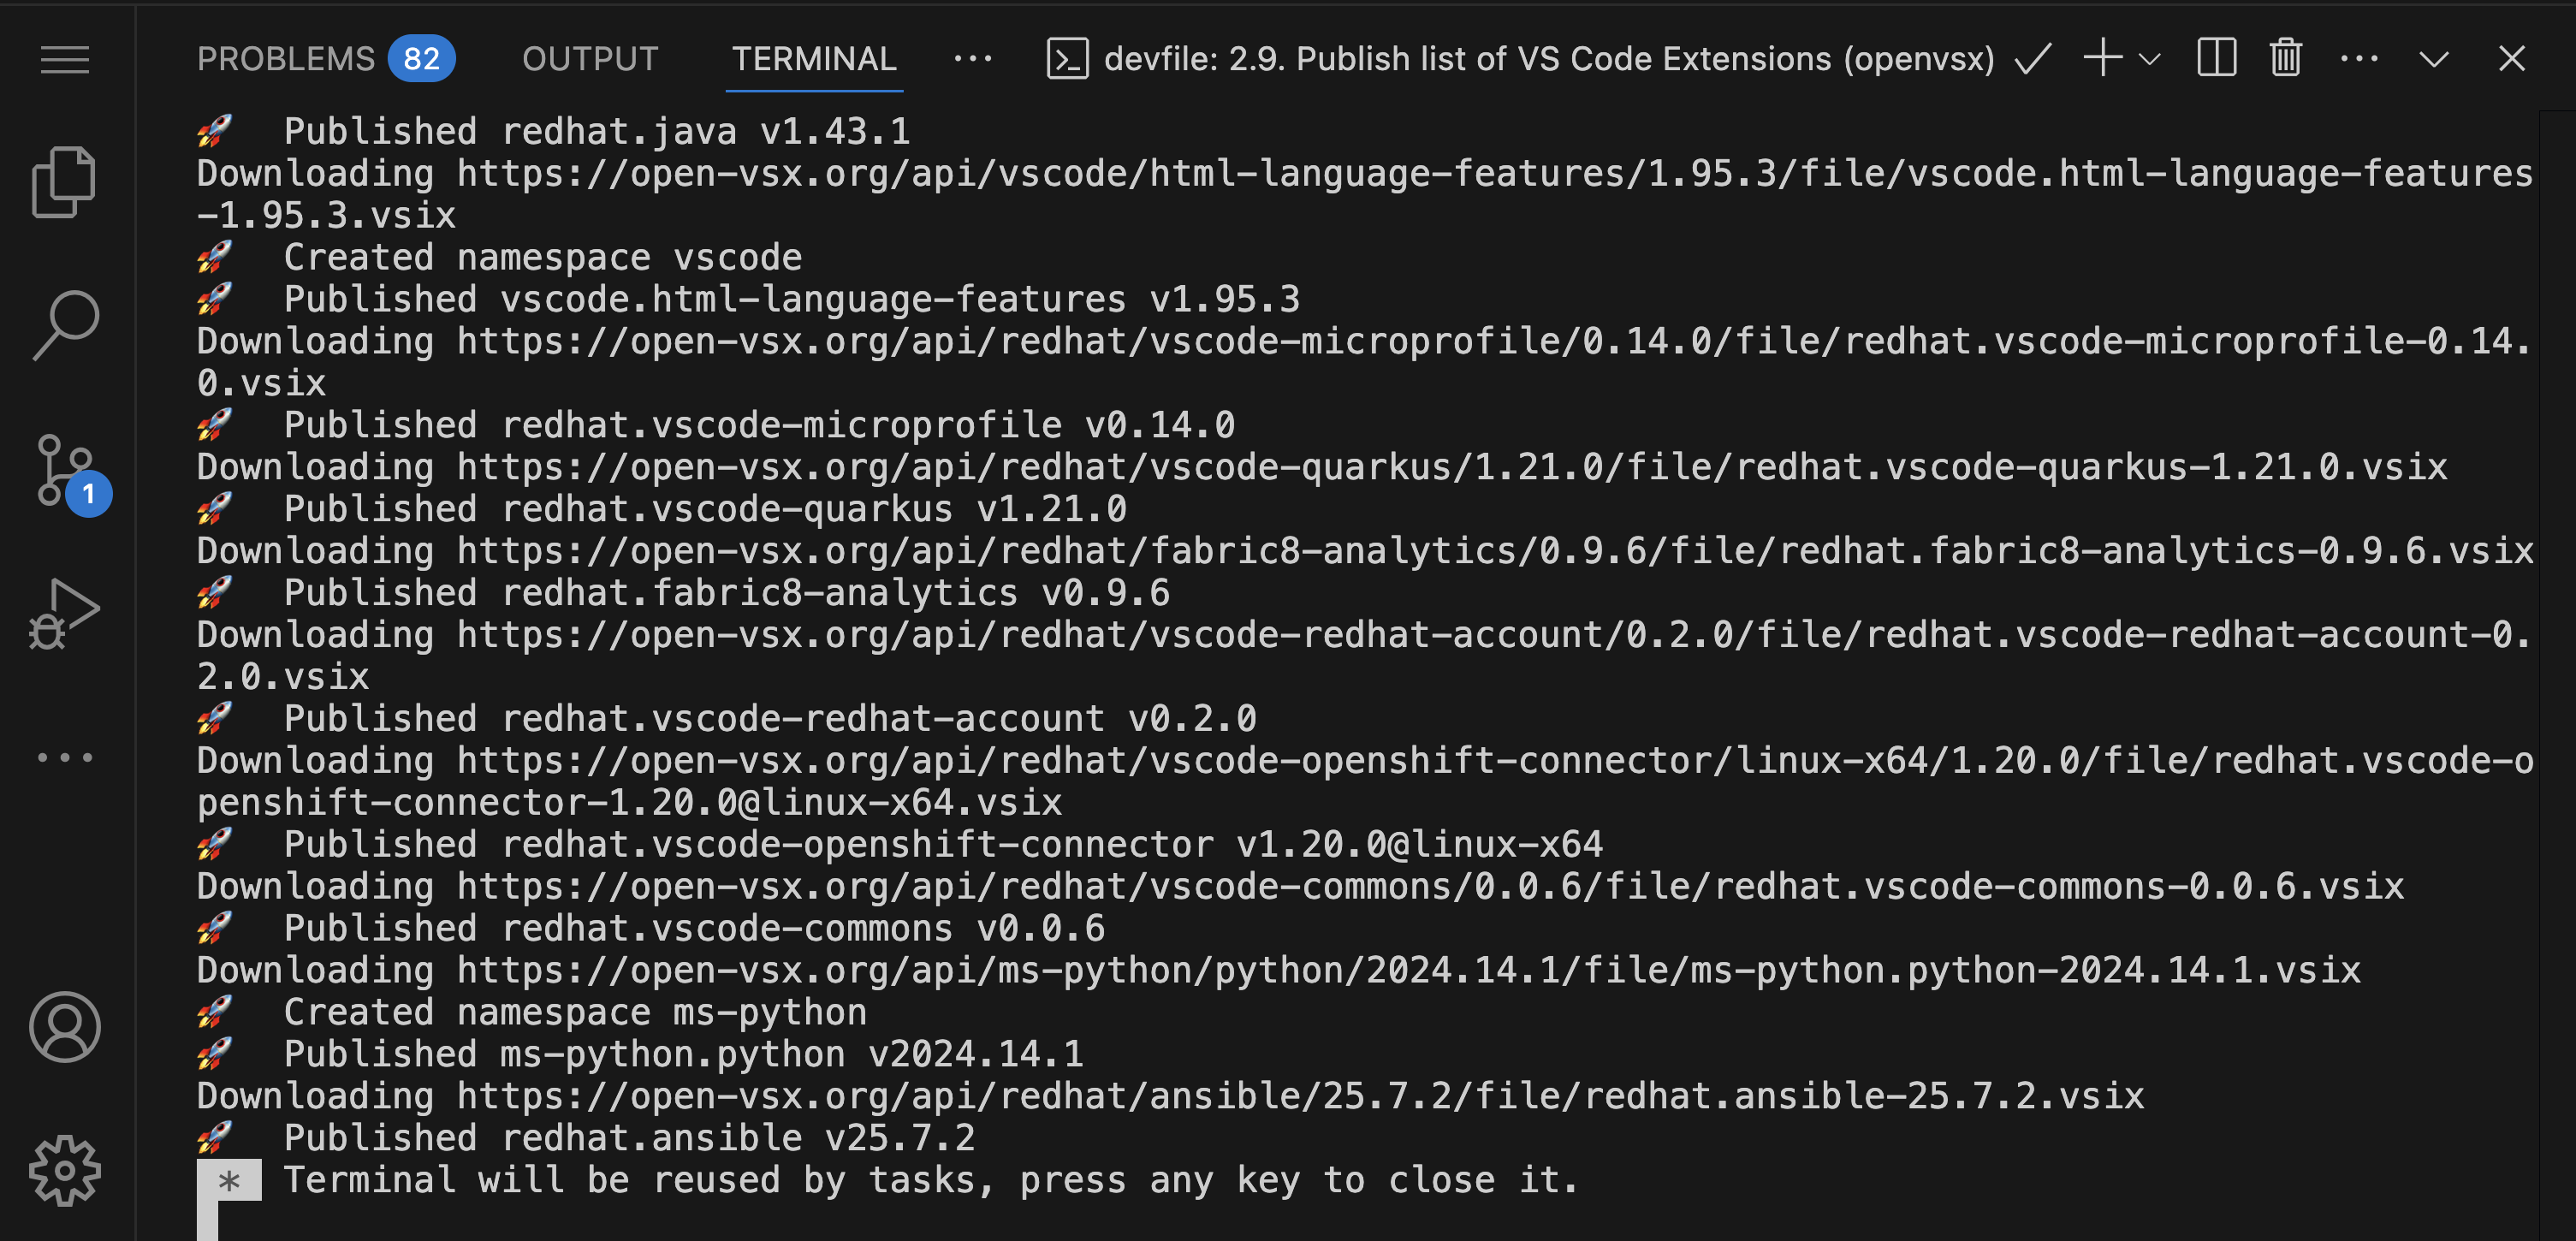
Figure 9: Batch publishing from extensions.txt
Step 10: Verify Integration
Start a new Che workspace and open the Extensions view. Confirm that extensions are served from your internal registry.
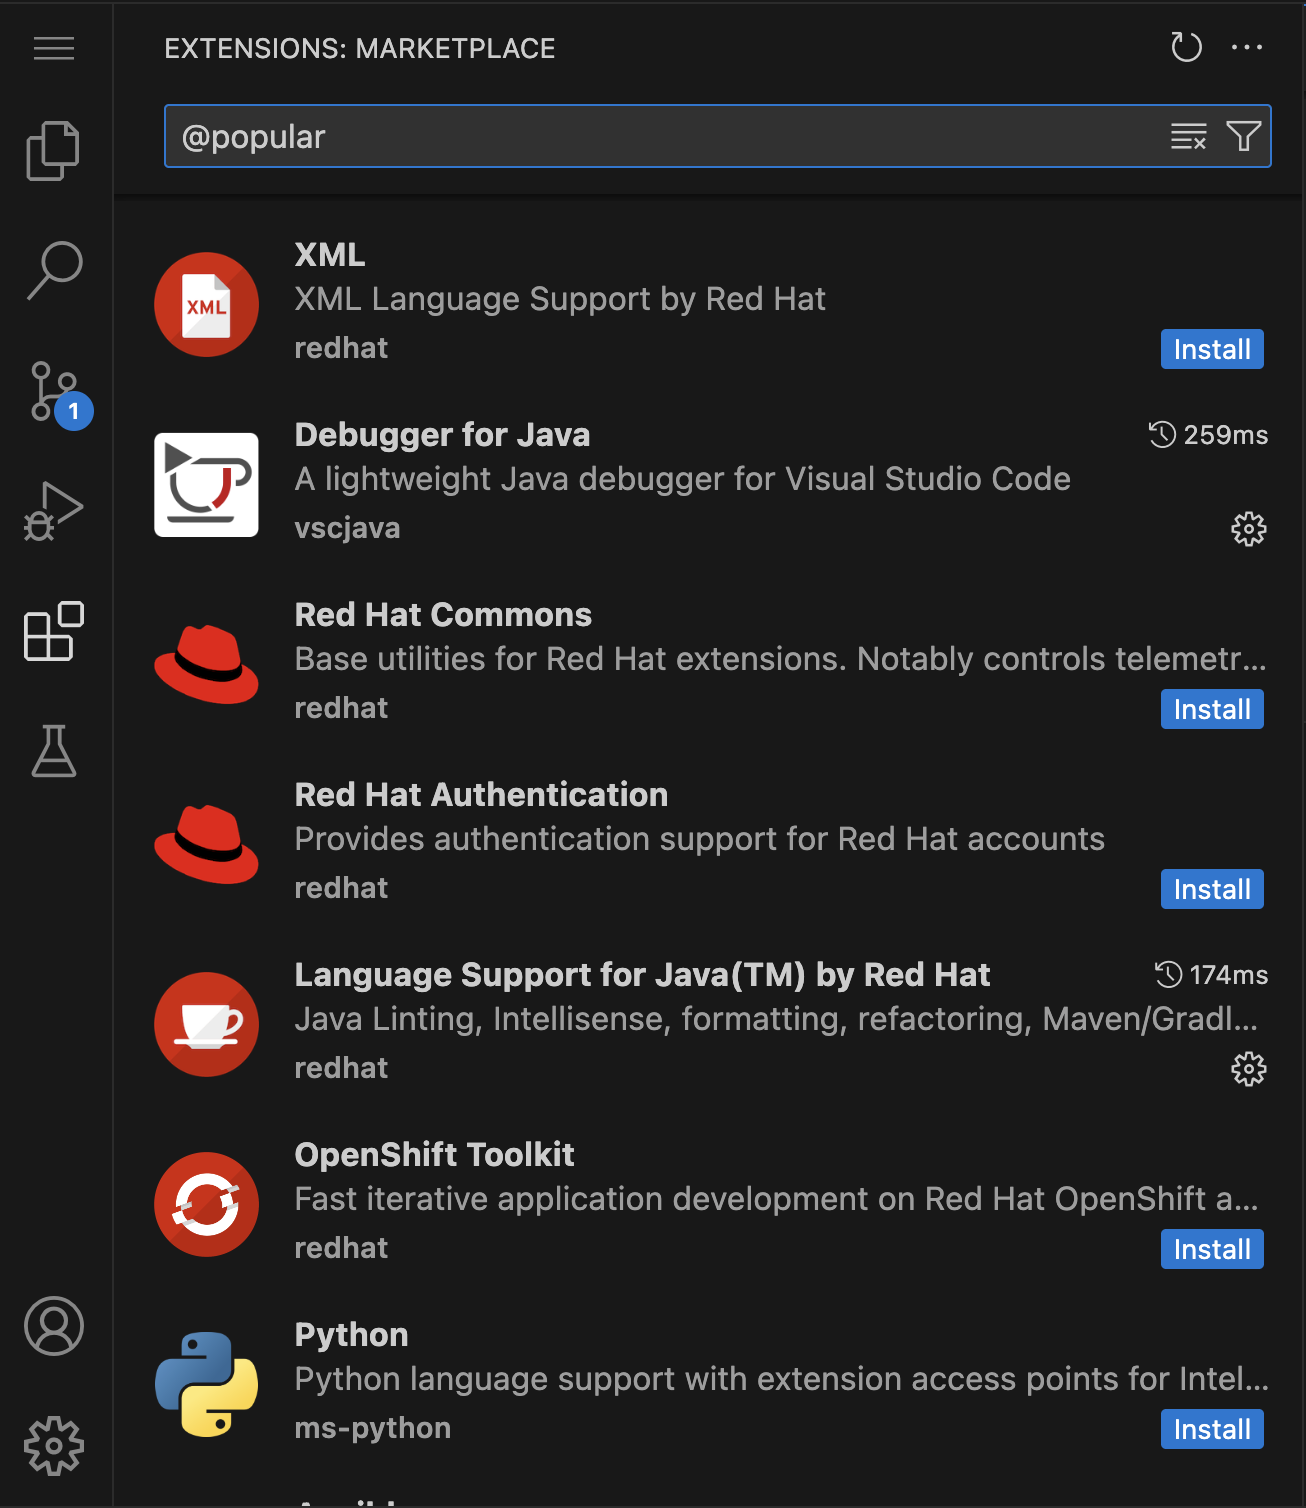
Figure 10: Extensions view
Or browse directly to your registry’s route, opening the internal route in the OpenVSX OpenShift project.
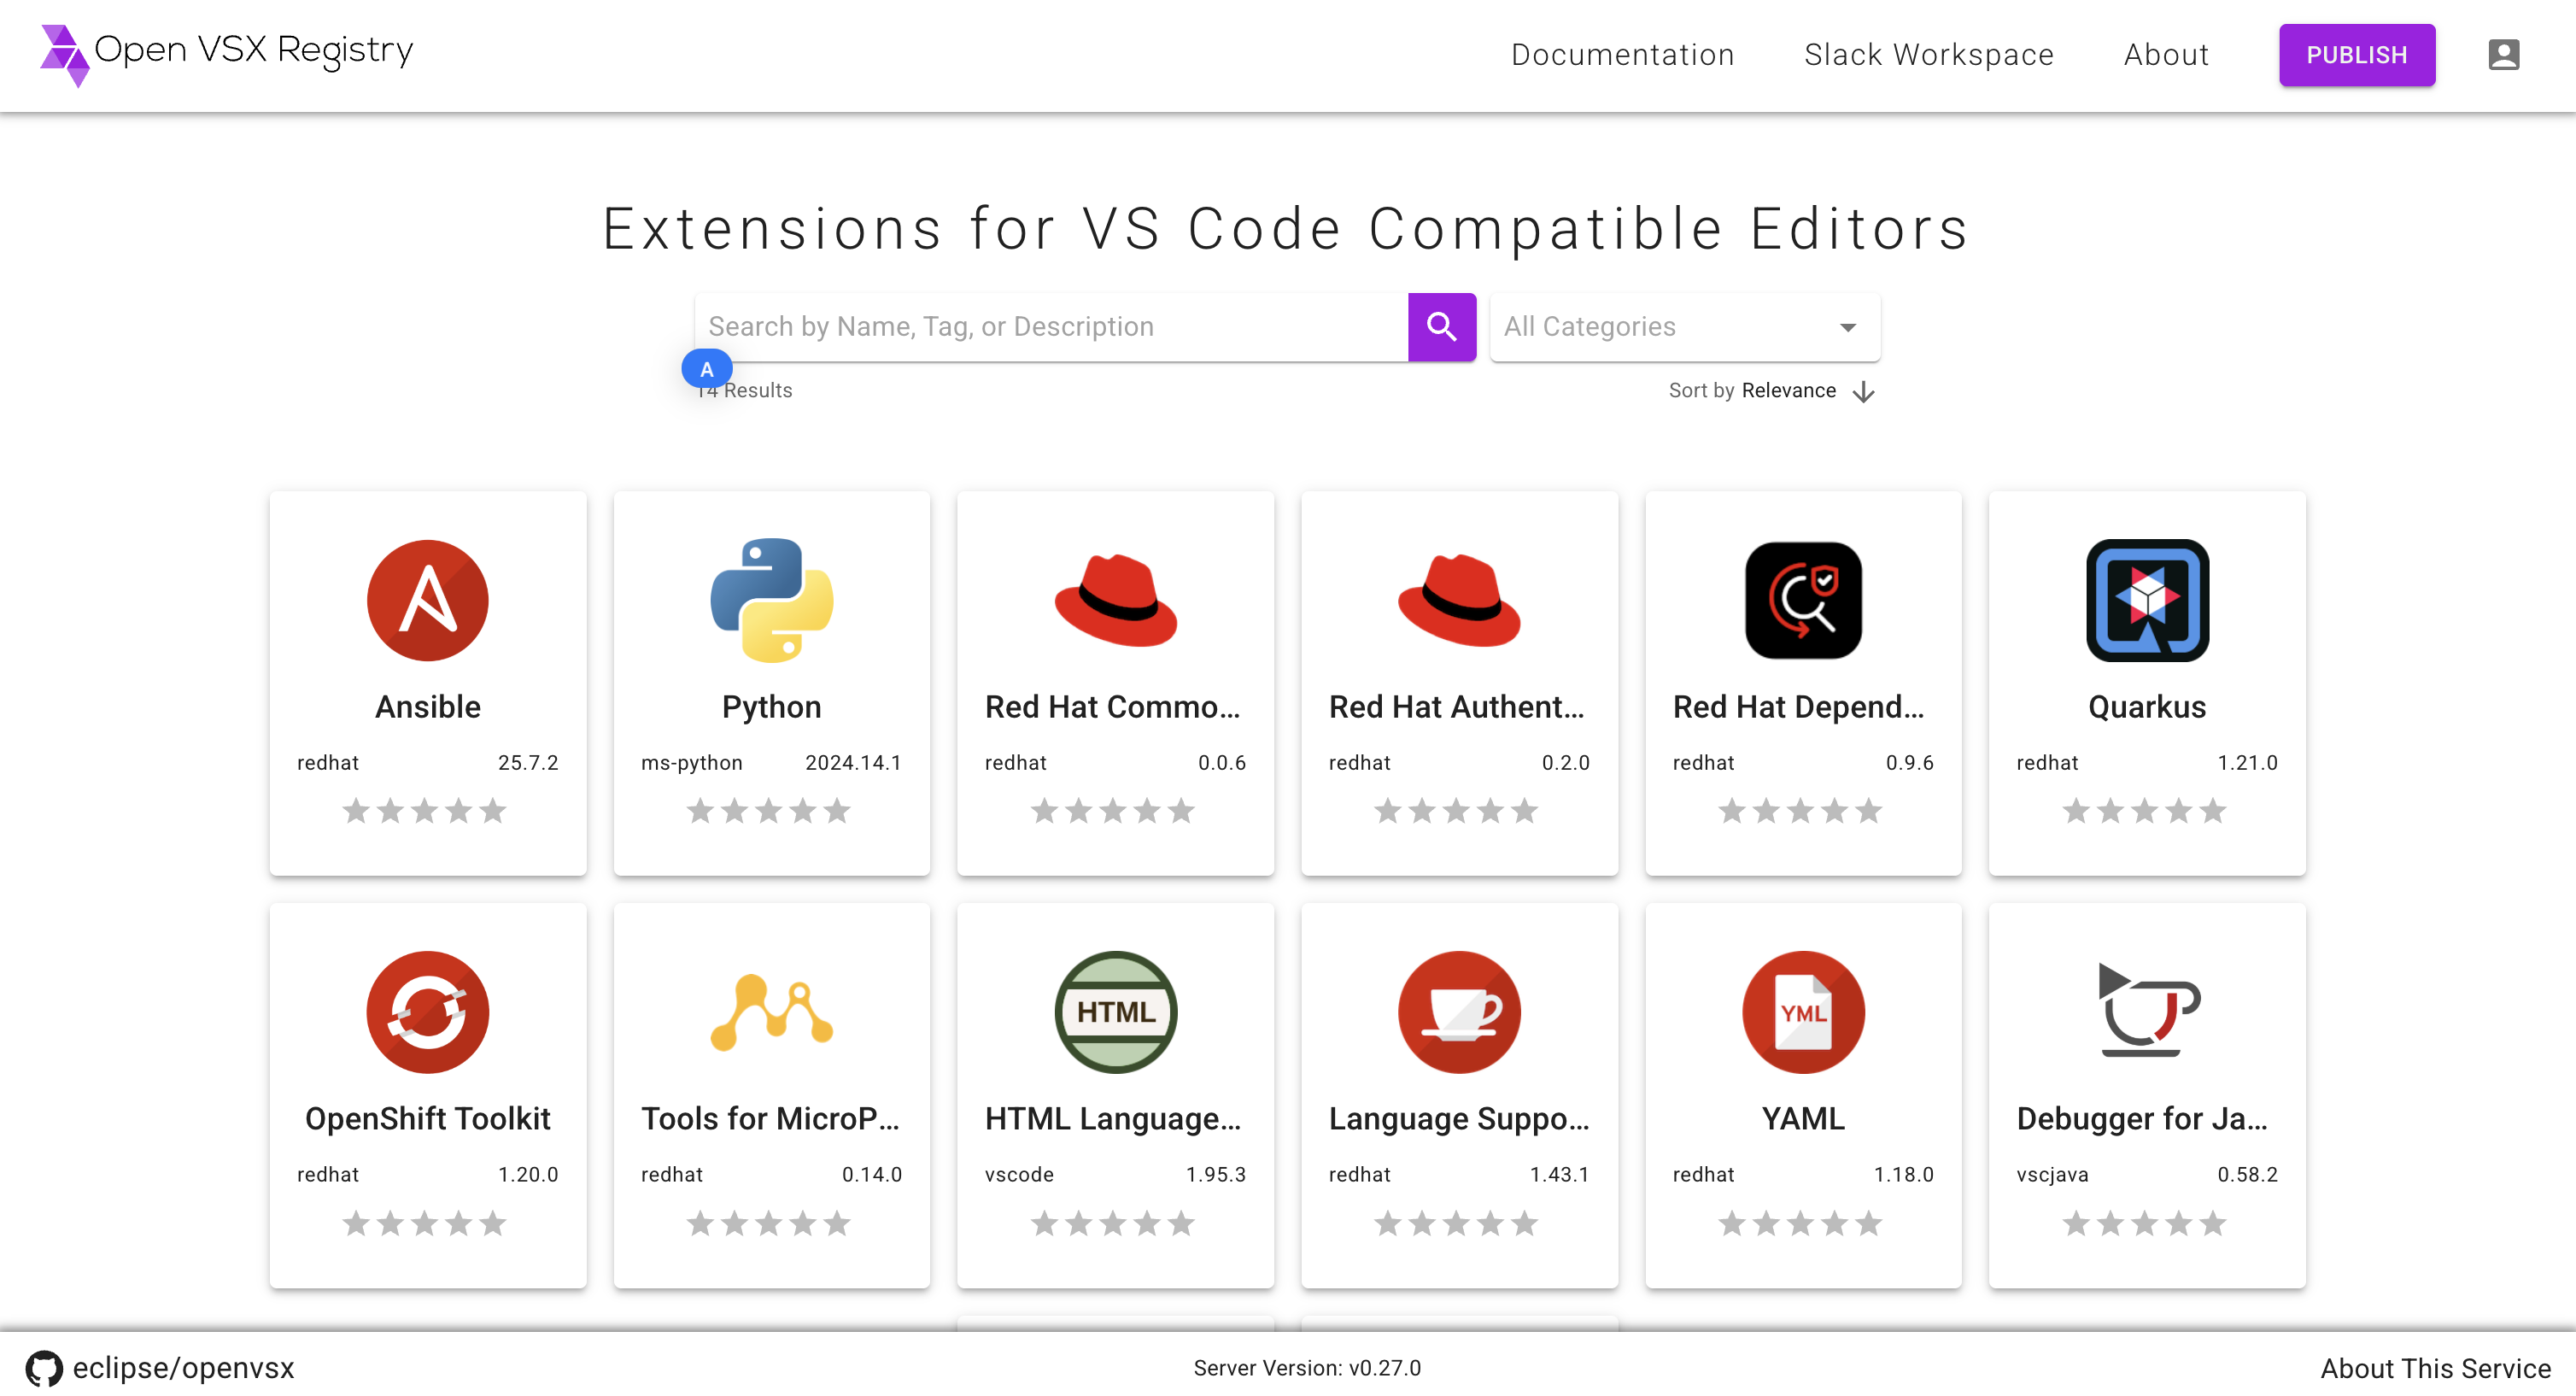
Figure 11: Custom Extensions registry
Optional: Restrict Open VSX Registry to Internal-Only Access
To prevent external exposure:
-
Delete the public route with name
internalfromopenvsxOpenShift project:
oc delete route internal -n openvsx-
Patch Che to use the in-cluster service DNS:
oc patch checluster <name> -n <namespace> \
  --type=merge \
  --patch '{"spec":{"components":{"pluginRegistry":{"openVSXURL":"http://openvsx-server.openvsx.svc:8080"}}}}'
Conclusion
Setting up Open VSX on-premises with Eclipse Che may sound complex at first, but the Devfile-driven flow makes it straightforward: You spin up a workspace, run a sequence of tasks, and end up with a fully functional, internal extension registry.