Contributing for the first time to a project
Introduction
The complexity of applications has changed dramatically over the last decade, and nowadays it is not always straightforward to contribute to a new project for the first time. At the beginning, developers need to properly set up the local environment including:
-
build tools
-
runtimes
-
dependencies
-
IDEs
For complex projects, it could easily take weeks for new developers to get the builds running on their machines. In general, a significant amount of the team’s week is spent on building and maintaining developer environments. With Eclipse Che we are solving the complexity of the onboarding, configuration, and setup by defining a new cloud-native, zero-install, and repeatable concept of a workspace.
Contributing for the first time to a project using Eclipse Che
The motto of Eclipse Che is that anyone anytime can
contribute to a project without installing software. In order
to contribute to a project, just click on the badge defined in
the README.md file of the repository, and within
a minute you will get a workspace ready for development with
all the tools and runtimes available out of the box.

README.md
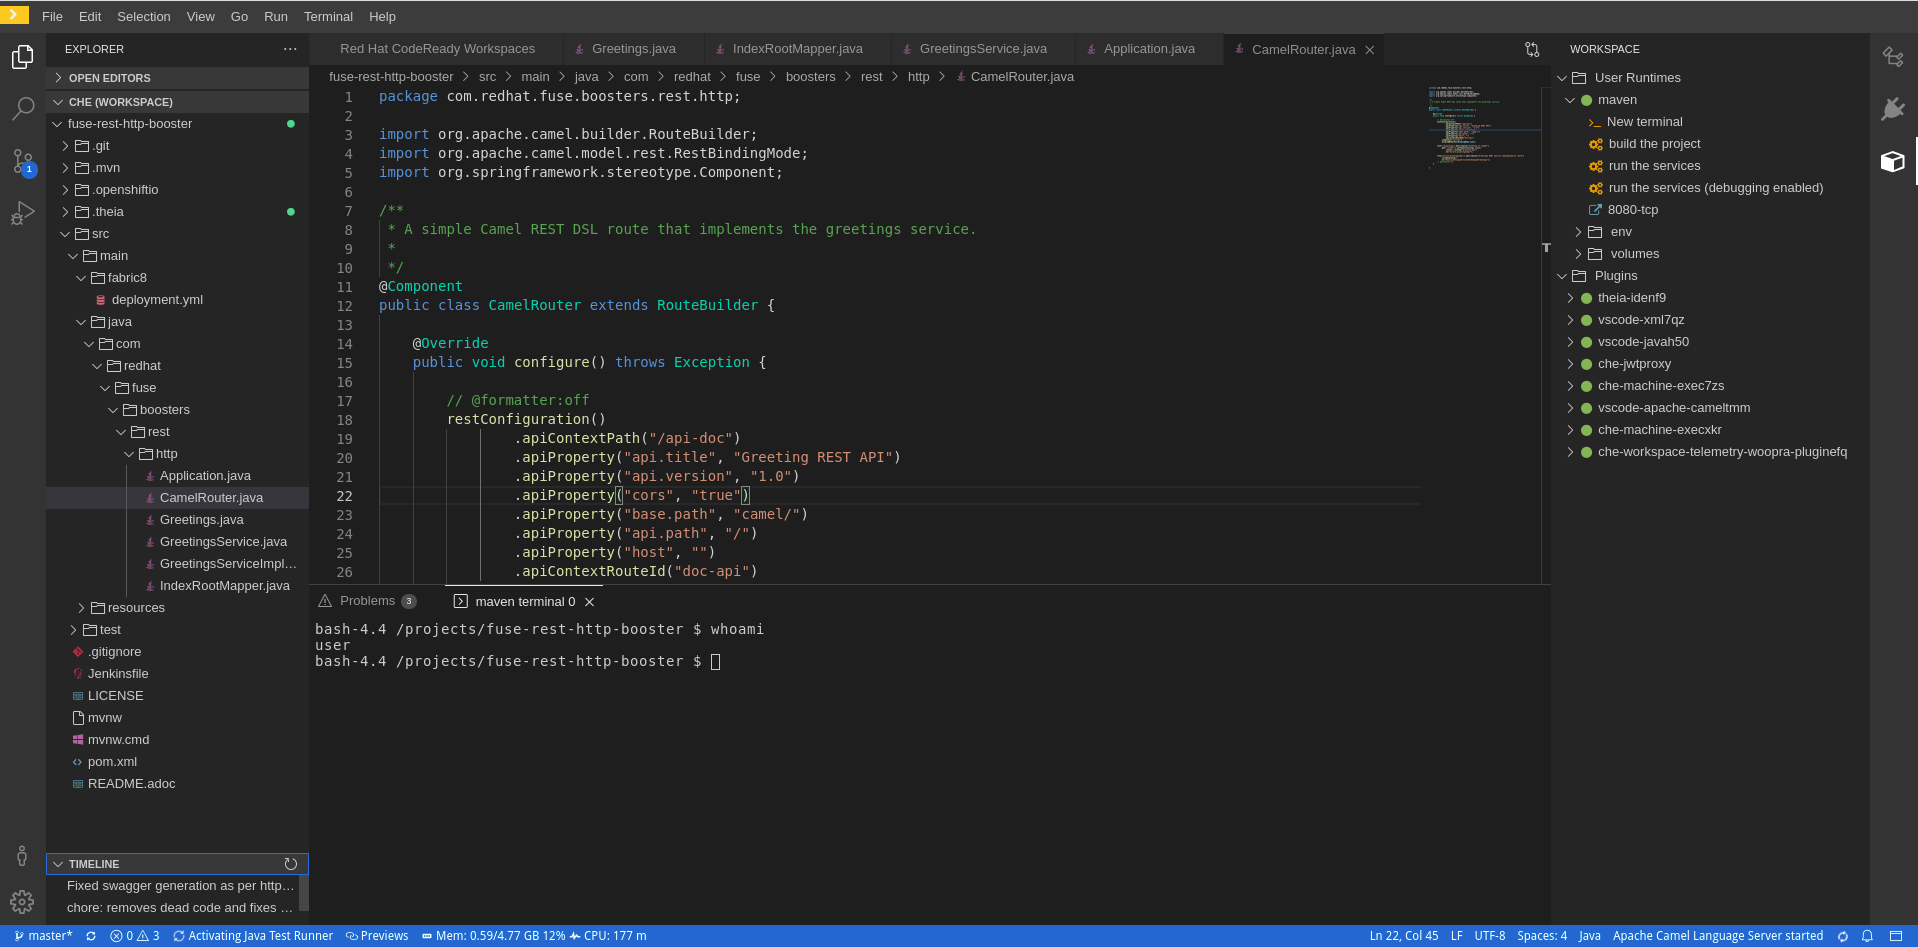
By default, Eclipse Che is using a customized version of Theia, which provides VS Code-like experience including the support of extensions:
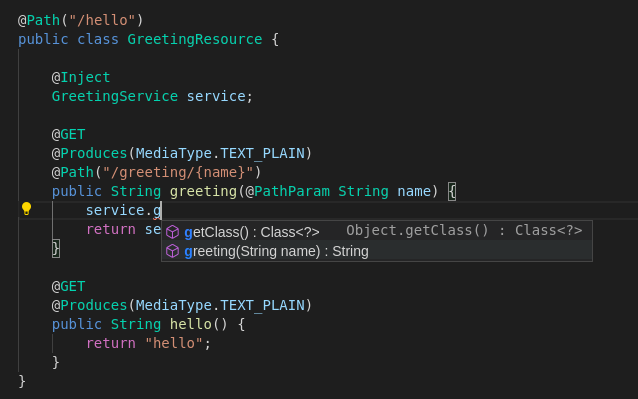
Programming languages facilities like code completion, navigation, and CodeLens are provided using the Language Server Protocol. Eclipse Che benefits from a growing ecosystem of over 60 available language servers, delivering intelligent editing support for all major programming languages.
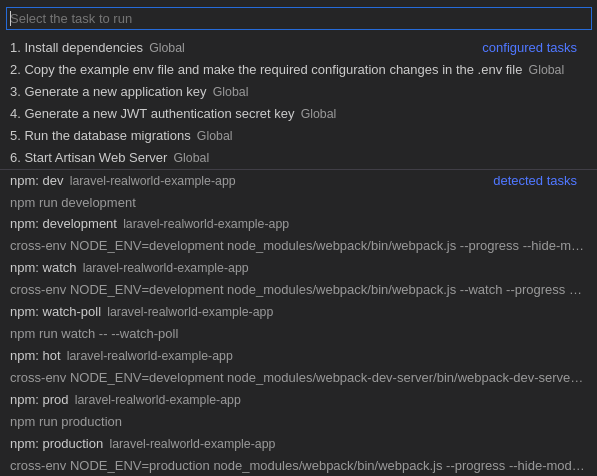
Pre-defined commands (Terminal →
Run Task…) allow you to easily
build, run, debug, and test the application.
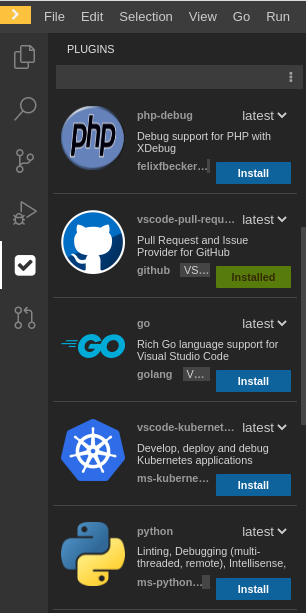
Additional extensions can be enabled by using the
Ctrl+Shift+J shortcut or
View → Plugins menu items:
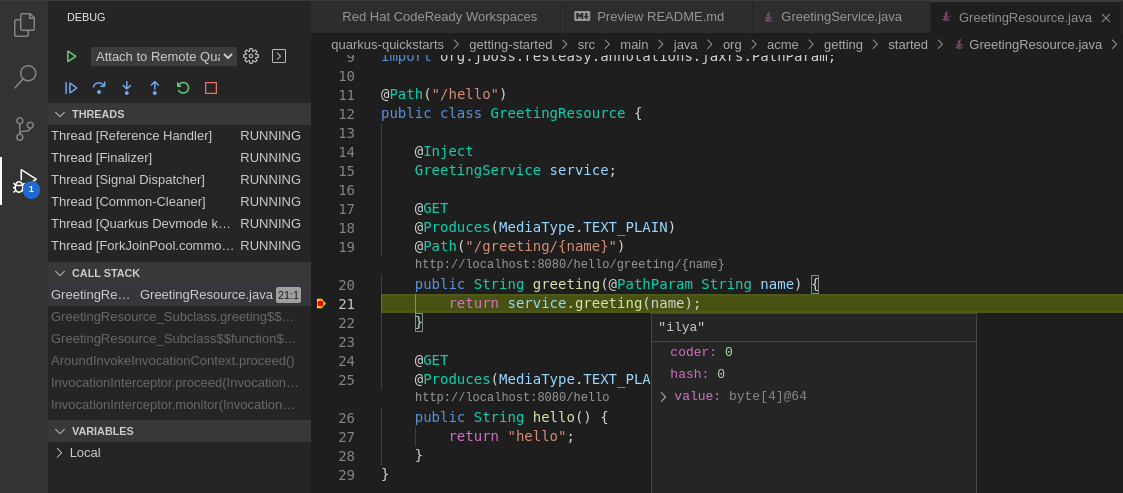
Debug the application by using the F5 shortcut or
Run → Start Debugging menu
items:
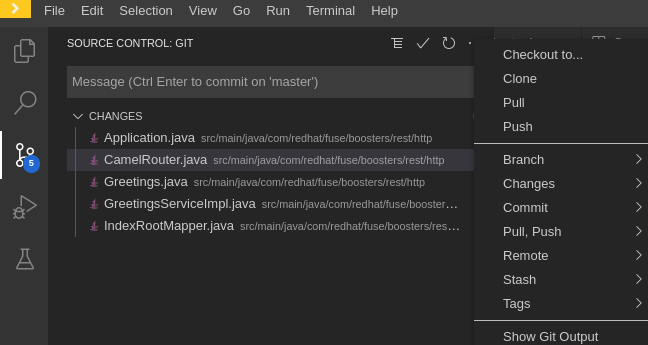
Commit and push the changes from the terminal or use the
Source Control view:
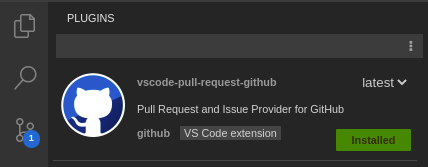
Now you are ready for the first contribution. For GitHub, a dedicated plugin is available that allows opening pull requests right from the IDE:
How can maintainers set up their projects to use Eclipse Che?
-
Deploy Eclipse Che on a Kubernetes cluster or use Eclipse Che hosted by Red Hat.
|
Warning
|
At the moment, Eclipse Che hosted by Red Hat does not use the DevWorkspace Operator that is in charge of the devfile v2 support. The switch to the DevWorkspace engine is planned for spring 2022. Currently, devfiles v2 are automatically converted to devfile v1 equivalents via the converter library under the hood during workspace startup. |
  |--- devfile.yaml
  |--- README.md
  |___ .che
         |___ che-editor.yaml
         |___ che-theia-plugins.yaml
  |___ .vscode
         |___ extensions.json
         |___ launch.json
-
Add
.devfile.yamlordevfile.yamlfile to the root of the project in order to specify the relevant components and commands in a declarative way.
The devfile provides easy to configure, highly reproducible definitions of portable developer environments. For more information about devfiles, see the Devfile Documentation.
|
Note
|
Omitting the creation of the devfile file will result in
using a default container based on the
Universal Developer Image, which provides various languages (including Java,
Node.js, Python, PHP, Golang, etc) and tools (including
curl, jq, git,
etc).
|
-
Add the
.vscode/extensions.jsonfile to the root of the project in order to add VS Code extensions if the editor is Theia (the default) or VS Code:
{
  "recommendations": [
    "redhat.java"
  ]
}|
Important
|
The list of VS Code extensions is available in the Eclipse Che plug-in registry. If the specified extensions are not available in the registry, the workspace will start, but the extensions will not be added to the workspace. |
-
Add the
.vscode/launch.jsonfile for specifyingRunandDebugcommands if the editor is Theia or VS Code:
{
    "version": "0.2.0",
    "configurations": [
        {
            "type": "java",
            "name": "Debug (Attach) - Remote",
            "request": "attach",
            "hostName": "localhost",
            "port": 5005
        }
    ]
}-
Add the
.che/che-theia-plugins.yamlfile if extra customizations of Theia plugins are required.
|
Note
|
Eclipse Che uses
.che/che-theia-plugins.yaml file only if the
editor is Theia.
|
For example, overriding the default memory limit of
redhat.java sidecar container:
- id: redhat/java
  override:
    sidecar:
memoryLimit: 2Gi-
Add the
.che/che-editor.yamlfile to override the default editor (Theia) with a different one (e.g. VS Code or JetBrains IntelliJ) and specify the editor container properties. For example, overriding the default memory limit of thetheia-idecontainer:
id: eclipse/che-theia/latest          # mandatory
registryUrl: https://my-registry.com  # optional
override:                             # optional
  containers:
    - name: theia-ide
memoryLimit: 1280Mi-
Add the Eclipse Che badge to the project
README.mdfile with a link for starting a workspace:

[](https://che-host#https://github.com/my/repository)
Once the line above is added to the README.md, it
will be possible to start a workspace by simply clicking on
the badge icon.
|
Note
|
Eclipse Che images from Simple Icons can be also used for generation of the custom badges via Shields IO. |
https://img.shields.io/static/v1?label=eclipse&message=che&logo=eclipseche
https://img.shields.io/static/v1?label=code%20with&message=che&logo=eclipseche&color=FDB940&labelColor=525C86
https://img.shields.io/static/v1?label=eclipse&message=che&logo=eclipseche&color=FDB940&labelColor=525C86&style=plastic
https://img.shields.io/static/v1?label=eclipse&message=che&logo=eclipseche&color=FDB940&labelColor=525C86&style=flat-square
https://img.shields.io/static/v1?label=eclipse&message=che&logo=eclipseche&style=social


-
Set up Try in Web IDE GitHub action in the repository in order to test and review pull requests with Eclipse Che. More details about the GitHub action can be found in the Test pull requests with the Try in Web IDE GitHub action blog post.
Now you are all set. Happy Coding!